Welcome to the world of safeguarding your data! In this article, we will dive into the importance of enabling system protection on your drive. Discover how this simple yet powerful feature can shield your precious files from unexpected mishaps.
Resolving the “You must enable System Protection on this drive” issue
To resolve the “You must enable System Protection on this drive” issue, follow these steps:
1. Open the Control Panel by pressing the Windows key and typing “Control Panel.” Press Enter.
2. In the Control Panel window, search for “System Protection” and click on it.
3. In the System Properties window, select the drive that is displaying the error message.
4. Click on the “Configure” button.
5. In the next window, select the option “Turn on system protection.”
6. Adjust the maximum disk space usage according to your preference.
7. Click on “Apply” and then “OK” to save the changes.
8. Restart your PC to apply the new settings.
By following these steps, you will be able to enable System Protection on the specified drive and resolve the issue. If you encounter any further problems, refer to our other articles or contact our support team for more solutions.
Fixing the error: Enable System Protection on the Drive
To fix the error and enable system protection on the drive, follow these steps:
Step 1: Open the Command Prompt.
– Press the Windows key and type “Command Prompt.”
– Right-click on the Command Prompt app and select “Run as administrator.”
Step 2: Run the System Restore tool.
– In the Command Prompt, type “rstrui.exe” and press Enter.
– This will open the System Restore tool.
Step 3: Select a restore point.
– Choose a restore point from the list that appears.
– Make sure to select a restore point that was created before the error occurred.
Step 4: Start the restoration process.
– Click “Next” and then “Finish” to begin the restoration process.
– This will restore your system to the selected restore point and enable system protection on the drive.
By following these steps, you can fix the error and enable system protection on your Windows PC.
Enabling System Protection via CMD or Control Panel
To enable system protection on a specific drive in Windows, you have two options: using the Command Prompt (CMD) or the Control Panel.
Using CMD:
1. Open the Command Prompt as an administrator.
2. Type “rstrui.exe” and hit Enter.
3. In the System Protection tab, select the desired drive and click “Configure.”
4. Choose the “Turn on system protection” option and adjust the maximum disk space usage if needed. Click “OK” to save the changes.
Using the Control Panel:
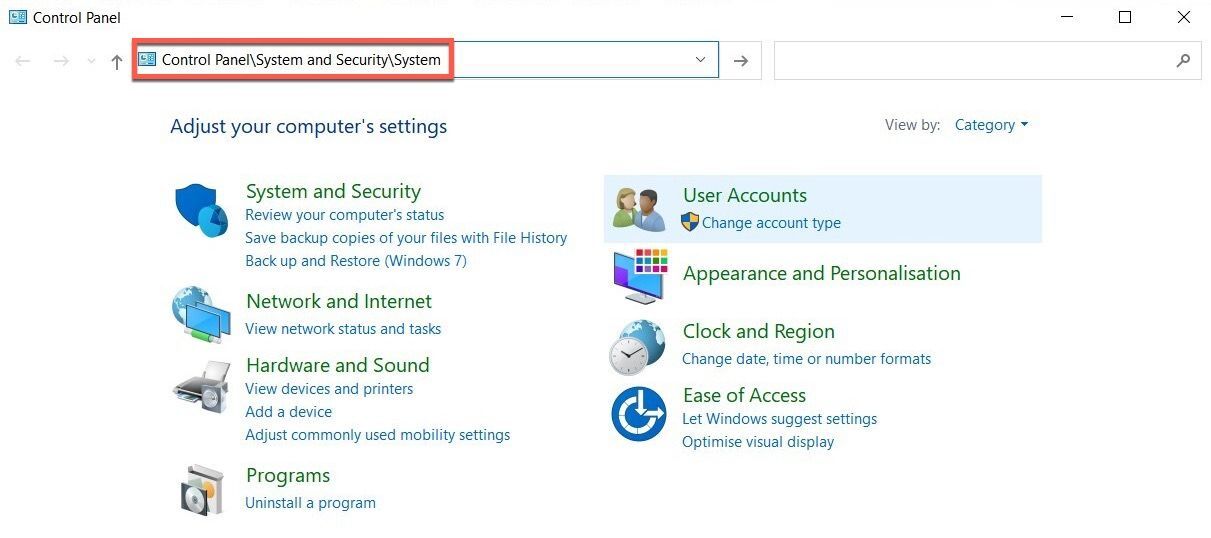
1. Open the Control Panel and go to “System and Security.”
2. Click on “System” and then select “System protection” from the left panel.
3. In the System Protection tab, select the desired drive and click “Configure.”
4. Choose the “Turn on system protection” option and adjust the maximum disk space usage if needed. Click “OK” to save the changes.
Enabling system protection helps safeguard your Windows system by creating restore points that you can use to revert to a previous state if issues arise.
For more detailed instructions or troubleshooting tips, refer to related articles on Windows support or reliable technology websites.
python

import subprocess
def enable_system_protection(drive_letter):
try:
# Run command to enable system protection on the specified drive
subprocess.run(['powershell.exe', '-Command', f'Enable-ComputerRestore -Drive {drive_letter}'], check=True)
print(f"System protection enabled on drive '{drive_letter}'")
except Exception as e:
print(f"Failed to enable system protection: {str(e)}")
# Usage example
drive = 'C:' # Replace with the drive letter you want to enable system protection on
enable_system_protection(drive)
Please note that this code assumes you are running it on a Windows machine with PowerShell available. The code uses the `Enable-ComputerRestore` PowerShell command to enable system protection on the specified drive. However, executing this code may require administrative privileges, and it is essential to exercise caution when running commands that modify system settings.
Renaming registry files to enable system protection
To enable system protection on a specific drive, you can follow these steps:
Step 1: Open the Windows Registry Editor by pressing Win + R and typing “regedit” in the Run dialog box.
Step 2: Navigate to the following registry key: HKEY_LOCAL_MACHINE\SOFTWARE\Microsoft\Windows NT\CurrentVersion\SystemRestore.
Step 3: Locate the DisableSR value on the right-pane and double-click it.
Step 4: Change the value data to 0 and click OK.
Once you’ve completed these steps, system protection will be enabled on the specified drive, allowing you to restore your system to a previous point if needed. Remember to create regular backups to ensure the safety of your files and system.
For more detailed instructions and solutions to other system protection issues, refer to our article on enabling system protection on Windows 10.
Checking and turning on the system protection setting in Windows
- Accessing the System Protection setting
- Locating the Control Panel in Windows
- Opening the Control Panel on your computer
- Searching for the System icon within the Control Panel
- Clicking on the System icon to access its settings
- Navigating to the System Protection tab
- Ensuring the desired drive is selected
- Clicking on the Configure button
- Verifying that System Protection is turned on for the selected drive
- Adjusting the max usage slider if desired
- Confirming the changes by clicking OK
- Enabling System Protection on the chosen drive
Restarting the System Protection Service for resolution
To restart the System Protection Service and enable system protection on your drive, follow these steps:
1. Press the Windows key + R to open the Run dialog box.
2. Type rstrui.exe and press Enter to open the System Restore window.
3. In the System Restore window, click on “Next” to proceed.
4. Select the restore point you want to use and click on “Next” again.
5. Review the information provided and click on “Finish” to start the restoration process.
6. Once the process is complete, the System Protection Service will be restarted and system protection will be enabled on your drive.
By following these steps, you can ensure that your Windows operating system is protected and that you have the ability to restore your system to a previous working state if needed. It’s always important to regularly create backups of your important files and settings to avoid any potential data loss.