If you’re experiencing a Windows 7 Genuine Error, don’t panic! There are quick fixes available to help resolve the issue.
Understanding the Windows Genuine Error in Windows 7
If you encounter the Windows Genuine Error in Windows 7, there are a few quick fixes that can help resolve the issue. One method is to check the activation status of your operating system by going to System properties in the Control Panel. If you see an error message or the activation status is non-genuine, try activating Windows using your product key or running the activation troubleshooter. You can also use the command prompt to activate Windows or check the status of your activation. If you’re still having issues, try resetting permissions for the Network Service account or updating your system with the latest KB updates. Keep in mind that pirated versions of Windows will not be able to resolve this issue and may result in a black screen or other errors.
Causes of the Windows Genuine Error
- Invalid Product Key: Entering an incorrect or invalid product key during the installation process can cause the Windows Genuine Error.
- Software Piracy: Using unauthorized or pirated copies of Windows 7 can result in the Windows Genuine Error.
- Hardware Changes: Upgrading or changing hardware components such as the motherboard or processor can trigger the Windows Genuine Error if the system detects a significant change in the hardware configuration.
- Malware Infection: Malware or viruses can corrupt system files, including those related to Windows activation, leading to the Windows Genuine Error.
- Windows Update Issues: Installing certain updates or failing to install critical updates can cause issues with Windows activation, resulting in the Windows Genuine Error.
How to Fix the Windows Genuine Error
To fix the Windows Genuine Error on Windows 7, there are a few quick fixes you can try. First, open Control Panel and navigate to System properties. Click on the “Activate Windows” button and follow the prompts to activate your copy of Windows. If this doesn’t work, try running the command “slmgr /rearm” in an elevated command prompt. You can also try uninstalling the KB971033 update and checking for any other updates that may be causing the issue. If you’re still experiencing issues, check your Security Settings and ensure that the network service account has the necessary permissions. Finally, if all else fails, contact Microsoft support for further troubleshooting. Remember to always activate your operating system to avoid these types of errors.
Uninstalling Update KB971033
To uninstall update KB971033, follow these steps:
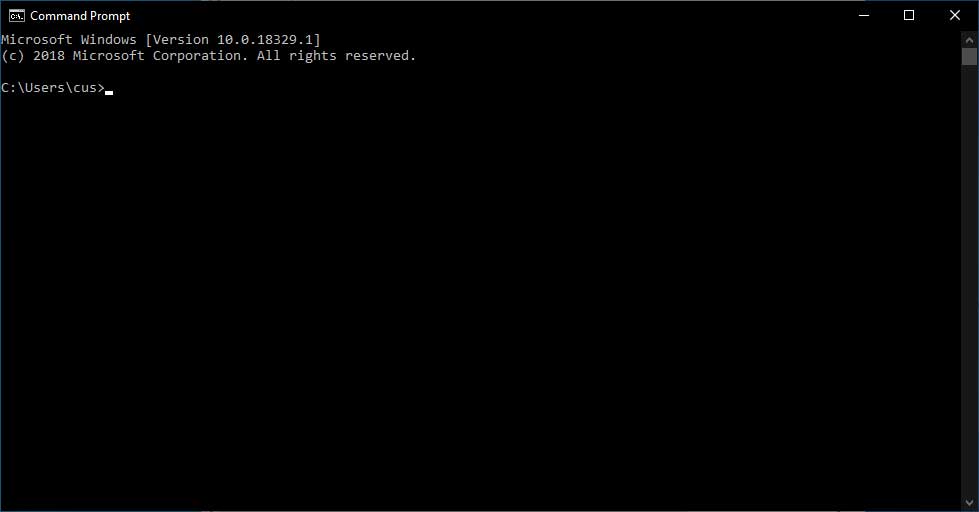
1. Click the “Start” button and type “cmd” into the search box.
2. Right-click “cmd” and select “Run as administrator.”
3. Type “wusa.exe /uninstall /kb:971033” and press “Enter.”
4. Restart your computer.
This should resolve the Windows 7 genuine error caused by KB971033. If you’re still experiencing issues, try the other quick fixes outlined in the Resolve Windows 7 Genuine Error with Quick Fixes article.
It’s important to note that if you’re a victim of software piracy and have a non-genuine copy of Windows, uninstalling KB971033 will not make your computer genuine. Additionally, if you’re running Windows 10, this update is not applicable.
If you receive an error message with the code 0x80070005, make sure you have administrative access to your computer and that your security settings allow you to install and uninstall updates. If you receive the error code 0x80070005 after following these steps, try disabling your antivirus software and attempting the action again.
Resetting Licensing Status with SLMGR -REARM Command
To reset your licensing status, use the SLMGR -REARM command. This will extend the grace period for activation and reset the licensing status. After entering the command, restart your computer and check if the issue has been resolved. If you continue to experience problems, try other methods such as checking for updates or running the Microsoft Genuine Advantage Diagnostic Tool. It’s important to resolve the issue as soon as possible to prevent any further problems, such as a black screen or desktop background setting changes. If you have any questions or need further troubleshooting, refer to the article for more information. Remember, always ensure that your Windows operating system is genuine to avoid any potential problems or error messages.
Reconfiguring Plug and Play Service with RSOP Command
Reconfiguring Plug and Play Service can help resolve a Windows 7 genuine error. To do so, use the RSOP command. First, open the Run dialog box and type “rsop.msc” followed by Enter. Then, navigate to Computer Configuration > Administrative Templates > System > Device Installation > Device Installation Restrictions. Double-click “Prevent installation of devices not described by other policy settings” and select “Disabled”. Finally, restart your computer and the error should be resolved.
This method can also be used for Windows Server and Windows Server 2012. Resolving the genuine error can stop the desktop background from turning black and prevent error messages from appearing. If you have any questions about this method or are still experiencing issues, seek additional information or consider other quick fixes such as checking for Service Pack updates or product activation.
Turning Off Automatic Windows Updates
Turning off automatic Windows updates can help resolve Windows 7 genuine error. Follow these quick steps:
1. Click the Start button, go to Control Panel, and select Windows Update.
2. Click on “Change settings” on the left-hand side of the window.
3. Under “Important updates,” select “Never check for updates (not recommended)” from the drop-down menu.
4. Click “OK” to save the changes.
Note: Turning off automatic updates can make your computer vulnerable to security threats. Be sure to manually check for updates regularly.
If you are still experiencing the 0x80070005 error or other activation errors, try other methods such as running the Windows Update troubleshooter, checking your product activation status, or using the Group Policy Editor (GPO) to adjust your update settings.
Remember, having a non-genuine copy of Windows can cause various problems and symptoms on your computer. It’s best to resolve the issue as soon as possible to avoid further complications.
Ensuring Computer License is Legitimate
- Check the authenticity of the license key before purchasing.
- Verify the license key through Microsoft’s website or phone activation.
- Avoid purchasing from unauthorized vendors or third-party websites.
- Keep a record of the purchase and the license key for future reference.
- Regularly update and run anti-virus software to prevent malware from affecting the license key.
- Be cautious when sharing license keys with others, as this may lead to invalidation of the license.

- Use genuine Microsoft software to avoid compatibility issues and ensure security.
Troubleshooting Windows Genuine Error: Lack of Permissions and Missing Registry Entries
-
Grant Permissions to SLUI.EXE
- Press Windows+R to open the Run dialog box.
- Type C:\Windows\System32 in the Open field and click OK.
- Right-click SLUI.EXE and select Properties.
- Click Security tab, and then click Edit.
- In the Permissions dialog box, click Add.
- Type Authenticated Users in the Enter the object names to select field and click OK.
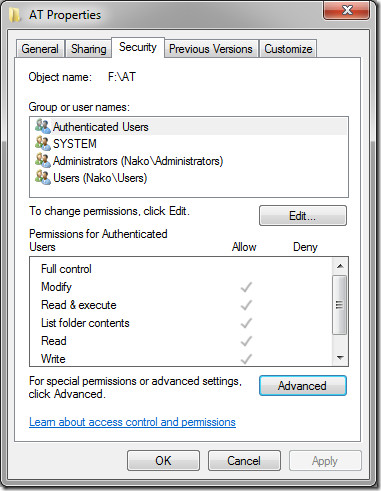
- Select Full Control in the Permissions for Authenticated Users section.
- Click OK and then click Yes when prompted.
- Restart the computer.
-
Add Required Registry Entries
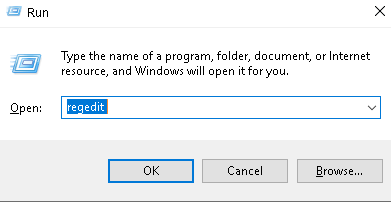
- Press Windows+R to open the Run dialog box.
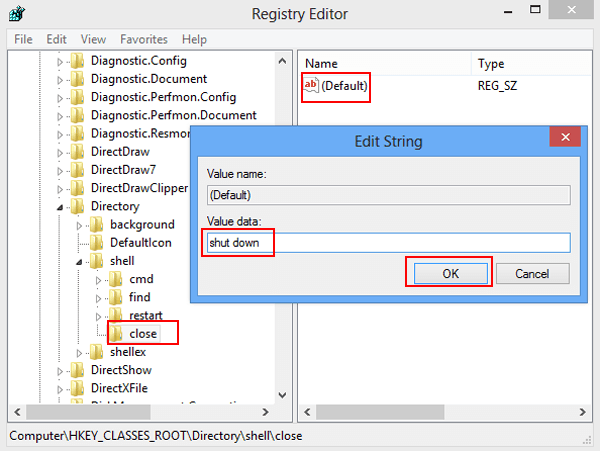
- Type regedit in the Open field and click OK.
- Navigate to HKEY_LOCAL_MACHINE\SOFTWARE\Microsoft\Windows NT\CurrentVersion\SoftwareProtectionPlatform.
- Right-click on SoftwareProtectionPlatform and select New > DWORD (32-bit) Value.
- Type AllowNonGenuine in the Name field and press Enter.
- Double-click AllowNonGenuine and set the Value data to 1.
- Click OK and then close the Registry Editor.
- Restart the computer.
