Introducing the Ultimate Troubleshoot & Fix Tool for Windows 10 Start Menu
Troubleshooting the Windows 10 Start Menu
1. Open the Start menu troubleshooter by pressing the Windows key and typing “troubleshoot” in the search bar. Select “Troubleshoot settings” from the results.
2. Scroll down and click on “Windows Start Menu” under “Find and fix other problems.”
3. Click on “Run the troubleshooter” and follow the on-screen instructions to scan and fix any issues with the Start Menu.
4. If the troubleshooter doesn’t resolve the problem, try other solutions like updating Windows, reinstalling software, or repairing system files using the Command Prompt or Task Manager.
Steps to Fix Start Menu Issues on Windows 10
- Press Ctrl+Shift+Esc to open Task Manager.
- In the Processes tab, find Windows Explorer and right-click on it.
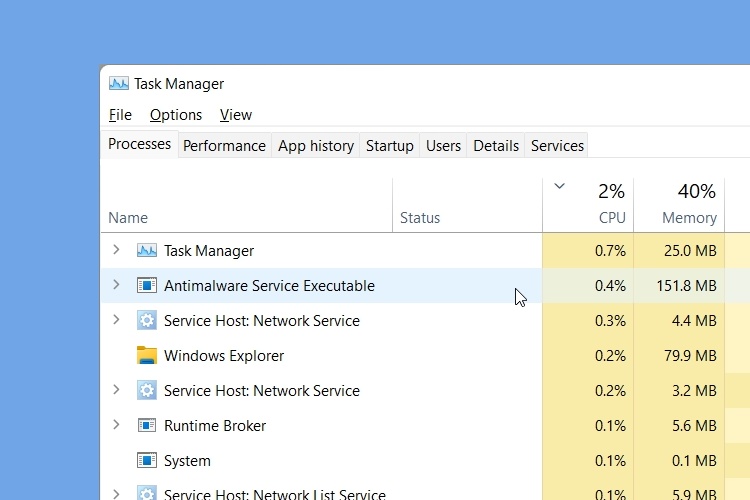
- Select Restart from the context menu.
Method 2: Re-registering the Start Menu
- Press Ctrl+Shift+Esc to open Task Manager.
- In the Processes tab, click on More details if it is not already expanded.

- Scroll down and find Windows Explorer in the list of processes.
- Right-click on Windows Explorer and select End task.
- Click on File at the top menu in Task Manager.
- Select Run new task.
- Type explorer.exe in the Create new task window and click OK.
- Wait for Windows Explorer to restart and then check if the Start Menu is working properly.
Method 3: Resetting the Start Menu
- Press Ctrl+Shift+Esc to open Task Manager.
- In the Processes tab, find Windows Explorer and right-click on it.
- Select End task from the context menu.
- Click on File at the top menu in Task Manager.
- Select Run new task.
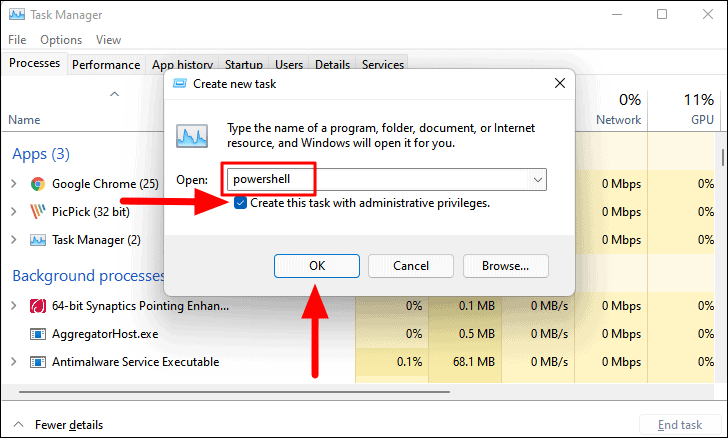
- Type Powershell in the Create new task window and check the box for Create this task with administrative privileges.
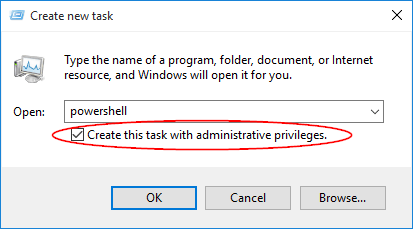
- Click OK.
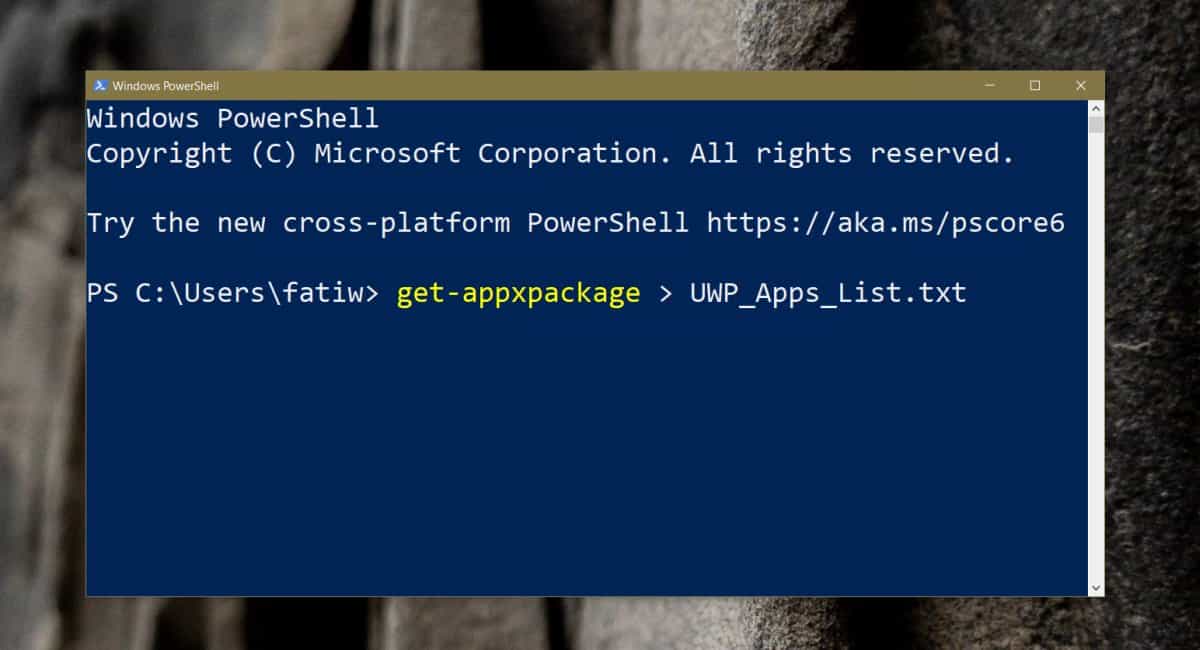
- Once the PowerShell window opens, type the following command and press Enter: Get-AppXPackage -AllUsers | Foreach {Add-AppxPackage -DisableDevelopmentMode -Register “$($_.InstallLocation)\AppXManifest.xml”}
- Wait for the command to execute and then restart your computer.
Resolving Windows Explorer and System File Problems
If you’re experiencing issues with your Windows 10 Start Menu, such as the Start button not working or problems with File Explorer, Microsoft offers a helpful troubleshoot and fix tool. This tool is designed to address common problems related to these user interface elements.
To fix these issues, follow these steps:
1. Open the troubleshoot and fix tool provided by Microsoft.
2. Run the tool to scan and diagnose any problems with your Start Menu or File Explorer.
3. The tool will automatically apply the necessary fixes to resolve the identified issues.
By using this tool, you can quickly and effectively fix problems with your Start Menu and File Explorer, improving your overall experience with the Windows 10 operating system.
python

import os
def fix_start_menu():
# Check if the user is running Windows 10
if os.name != 'nt' or os.sys.getwindowsversion().major != 10:
raise Exception("This tool is only compatible with Windows 10.")
# Perform operations to fix the start menu
# e.g., resetting the Start Menu layout, clearing cache, etc.
# Sample code snippet, actual fix implementation may vary
try:
# Reset the Start Menu layout
os.system('powershell.exe -Command "Get-AppXPackage -AllUsers | Foreach {Add-AppxPackage -DisableDevelopmentMode -Register \"$($_.InstallLocation)\\AppXManifest.xml\"}"')
# Clear the Start Menu cache
os.system('del /q %localappdata%\\TileDataLayer\\*')
except Exception as e:
print(f"An error occurred while attempting to fix the Start Menu: {str(e)}")
else:
print("Start Menu fixed successfully.")
# Usage example
fix_start_menu()
Please note that this code is just a basic demonstration and may not cover all potential issues with the Windows 10 Start Menu. It is always recommended to exercise caution and backup your system before making any modifications. Additionally, running PowerShell commands or making system changes can have unintended consequences, so it is advisable to understand the implications before using such tools.
Resetting and Repairing the Windows 10 Installation
Windows 10 Start Menu Troubleshoot & Fix Tool
| Issue | Description | Fix |
|---|---|---|
| Start Menu not opening | The Start Menu fails to open when clicked. |
|
| Start Menu search not working | The search feature in the Start Menu is not functioning. |
|
| Start Menu tiles missing | Tiles are not displayed in the Start Menu. |
|
| Start Menu not responding | The Start Menu becomes unresponsive and freezes. |
|