Having trouble with your Windows 10 Remote Desktop Connection? Let’s troubleshoot together.
Verify RDP Protocol and Services Status
To verify the RDP Protocol and Services status on Windows 10, follow these steps:
1. Open the Start menu and search for “Services.”
2. Click on “Services” to open the Services window.
3. Look for “Remote Desktop Services” in the list of services.
4. Check the status of the service – it should be “Running.”
5. If the status is not “Running,” right-click on “Remote Desktop Services” and select “Start.”
6. Next, check the status of the “Remote Desktop Configuration” service.
7. If it is not running, right-click on it and select “Start.”
8. After verifying that both services are running, try connecting to the remote desktop again.
Ensure Remote Connections are Allowed
Check Windows Firewall: Another common issue that can prevent Remote Desktop connections is the Windows Firewall. Make sure that the Windows Firewall is not blocking the Remote Desktop connection by going to the Start menu and searching for ‘Windows Defender Firewall’. Click on the result and make sure that ‘Remote Desktop’ is allowed through the firewall. If it is not allowed, click on ‘Change settings’ and check the box next to ‘Remote Desktop’ to allow the connection.
Verify IP Address: Double-check that you are using the correct IP address to connect to the remote computer. Verify the IP address of the remote computer by using the Command Prompt and typing ‘ipconfig’. Make sure to enter the correct IP address in the Remote Desktop software to establish the connection.
Review and Adjust Firewall Settings
| Firewall Setting | Current Setting | Recommended Setting |
|---|---|---|
| Windows Defender Firewall | Enabled | Enabled |
| Inbound Rules | Allow Remote Desktop (TCP-In) | Allow Remote Desktop (TCP-In) |
| Outbound Rules | Allow Remote Desktop (TCP-Out) | Allow Remote Desktop (TCP-Out) |
Modify Group Policy Object Settings
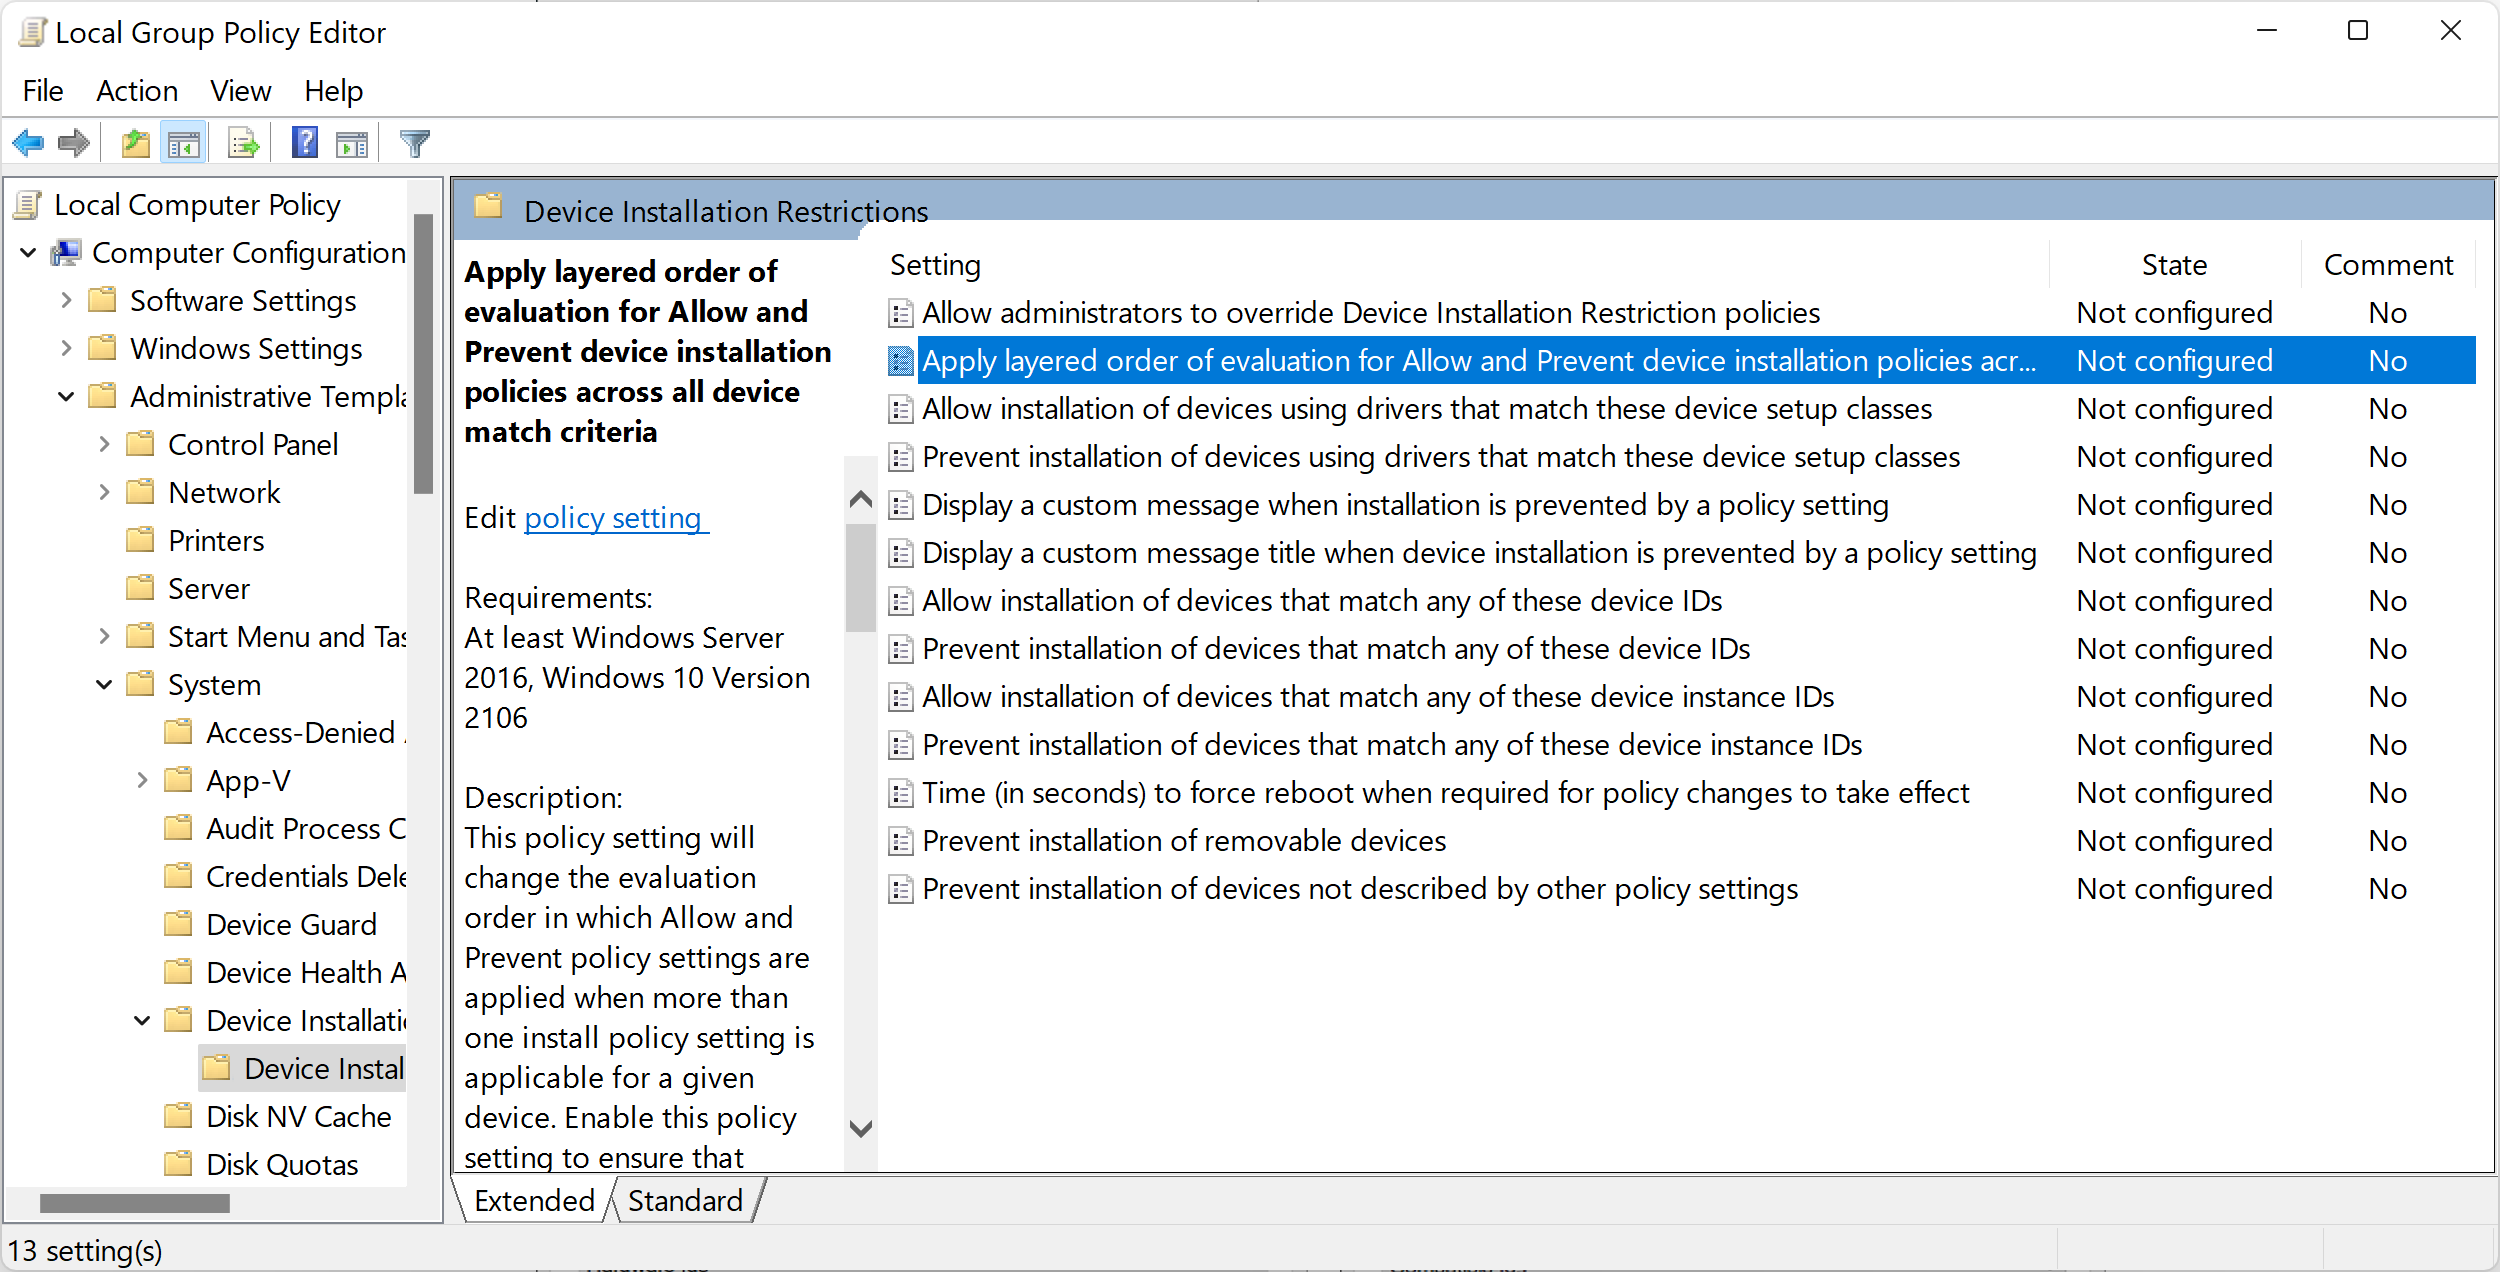
Step 1: Press the Windows key + R to open the Run dialog box.
Step 2: Type “gpedit.msc” and press Enter to open the Local Group Policy Editor.
Step 3: Navigate to Computer Configuration > Administrative Templates > Windows Components > Remote Desktop Services > Remote Desktop Session Host > Connections.
Step 4: Double-click on the setting “Restrict Remote Desktop Services users to a single Remote Desktop Services session” to modify the setting as needed.
Step 5: Double-click on the setting “Set rules for remote control of Remote Desktop Services user sessions” to adjust the remote control settings.
Step 6: Close the Group Policy Editor and restart your computer to apply the changes.
Remove and Manage Remote Desktop Credentials
First, open the Control Panel and go to “User Accounts” > “Credential Manager.”
Next, under the “Windows Credentials” section, locate the credentials related to Remote Desktop that you want to remove.
Click on the credential entry, then select “Remove” to delete it from the list.
If you are using PowerShell, you can manage Remote Desktop credentials using the “cmdkey” command. Open PowerShell and type “cmdkey /list” to view all stored credentials, then use “cmdkey /delete” followed by the credential name to remove it.
Managing Remote Desktop credentials can help resolve connection issues and improve security on your Windows 10 system.
Update Hosts File with IP and Server Name
To update the Hosts file with the IP and server name for troubleshooting Windows 10 Remote Desktop Connection issues, follow these steps:
1. Press the Windows key + R to open the Run dialog box.
2. Type notepad C:\Windows\System32\drivers\etc\hosts and press Enter to open the Hosts file in Notepad.
3. Add a new line at the end of the file with the format IP_Address Server_Name, replacing IP_Address with the actual IP address and Server_Name with the server’s name.
4. Save the changes by pressing Ctrl + S and close Notepad.
5. Try connecting to the remote desktop again using the updated Hosts file.
By updating the Hosts file with the correct IP and server name, you can potentially resolve connection issues related to Remote Desktop Protocol on Windows 10.
Make Necessary Registry Changes
1. Press the Windows key + R to open the Run dialog box.
2. Type “regedit” and press Enter to open the Registry Editor.
3. Navigate to “HKEY_LOCAL_MACHINE\SYSTEM\CurrentControlSet\Control\Terminal Server” in the Registry Editor.
4. Look for the “fDenyTSConnections” DWORD value and set it to “0” to enable Remote Desktop connections.
5. If the value is already set to “0”, double-check other settings in the Registry that may be causing the issue.
6. Close the Registry Editor and restart your computer to apply the changes.
7. Try connecting to the Remote Desktop again to see if the issue has been resolved.
These steps should help resolve Remote Desktop Connection problems by making necessary registry changes in Windows 10.
Check and Change Network Properties
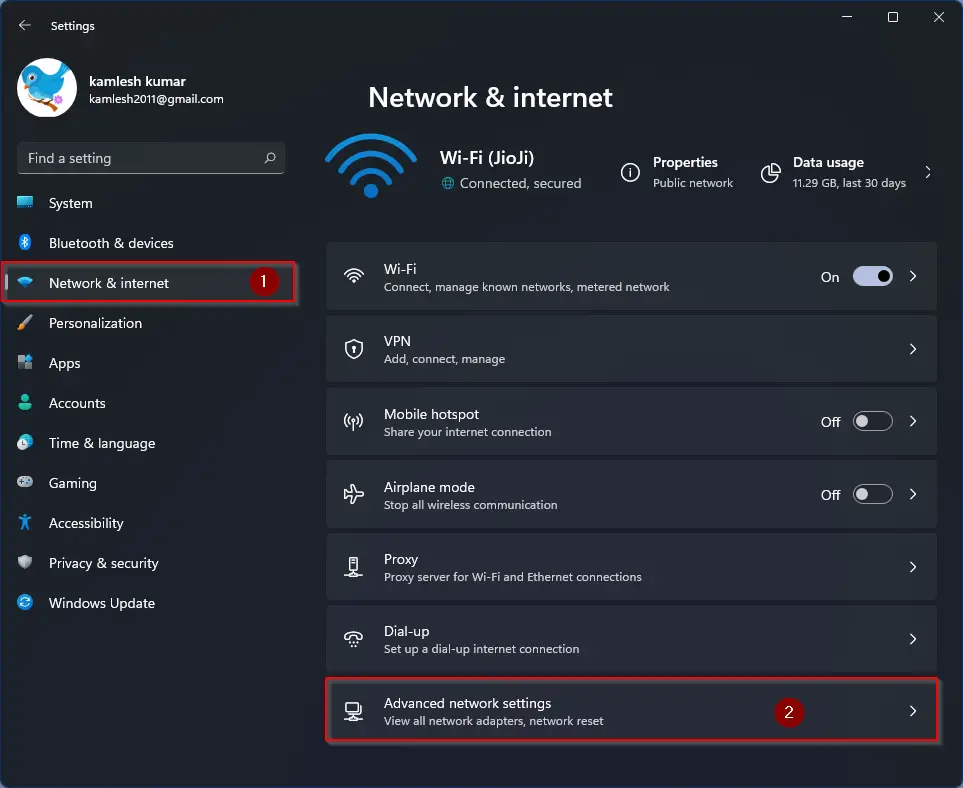
1. Press the Windows key + R to open the Run dialog box.
2. Type “ncpa.cpl” and press Enter to open the Network Connections window.
3. Right-click on the network adapter you are using for the Remote Desktop Connection and select Properties.
4. In the Properties window, scroll down and double-click on “Internet Protocol Version 4 (TCP/IPv4)“.
5. Check that the IP address and DNS server settings are correct. You can change them if needed by selecting “Use the following IP address” and “Use the following DNS server addresses”.
6. Click OK to save the changes and close the Properties window.
7. Restart your computer and try connecting to the remote desktop again.
Inspect and Reset RDP Listener and Port Settings
Then, type “tasklist | findstr [PID]” and press Enter to identify the process name associated with the PID. Once you have this information, you can reset the RDP listener by restarting the Remote Desktop Services using the Services tool in Windows 10.
If you encounter any issues with the port settings, you can check the Windows Firewall settings to ensure that the necessary ports are open for Remote Desktop connections. Additionally, make sure that any third-party antivirus software is not blocking the RDP connection.
F.A.Qs
Why is my Remote Desktop not connecting?
Your Remote Desktop may not be connecting because the credentials being used are incorrect. Make sure the stored credentials match the terminal you are trying to connect to.
How do you reset Remote Desktop Connection Windows 10?
To reset Remote Desktop Connection in Windows 10, you can use the Reset Desktop command by selecting Options > Reset Desktop from the menu bar or right-clicking the remote desktop icon and selecting Reset Desktop. Additionally, for published applications, use the Reset button in the desktop and application selector window.
How do I force Remote Desktop connection?
To force a Remote Desktop connection, you can enable it by going to the Advanced System Settings on your computer. From there, navigate to the Remote tab and select the option to allow remote connections to the computer. Make sure to keep the box checked for Network Level Authentication for added security.
How do I fix Microsoft Remote Desktop?
To fix Microsoft Remote Desktop, you can start by enabling Remote Desktop in Windows settings, allowing it through the Windows firewall, checking the startup type in services.msc, turning on network discovery, and adding the host’s IP address in C:/Windows/System32/Drivers/etc.
