Having slow transfer speeds on USB 3.0 in Windows 10? Let’s fix it.
Introduction to USB 3.0
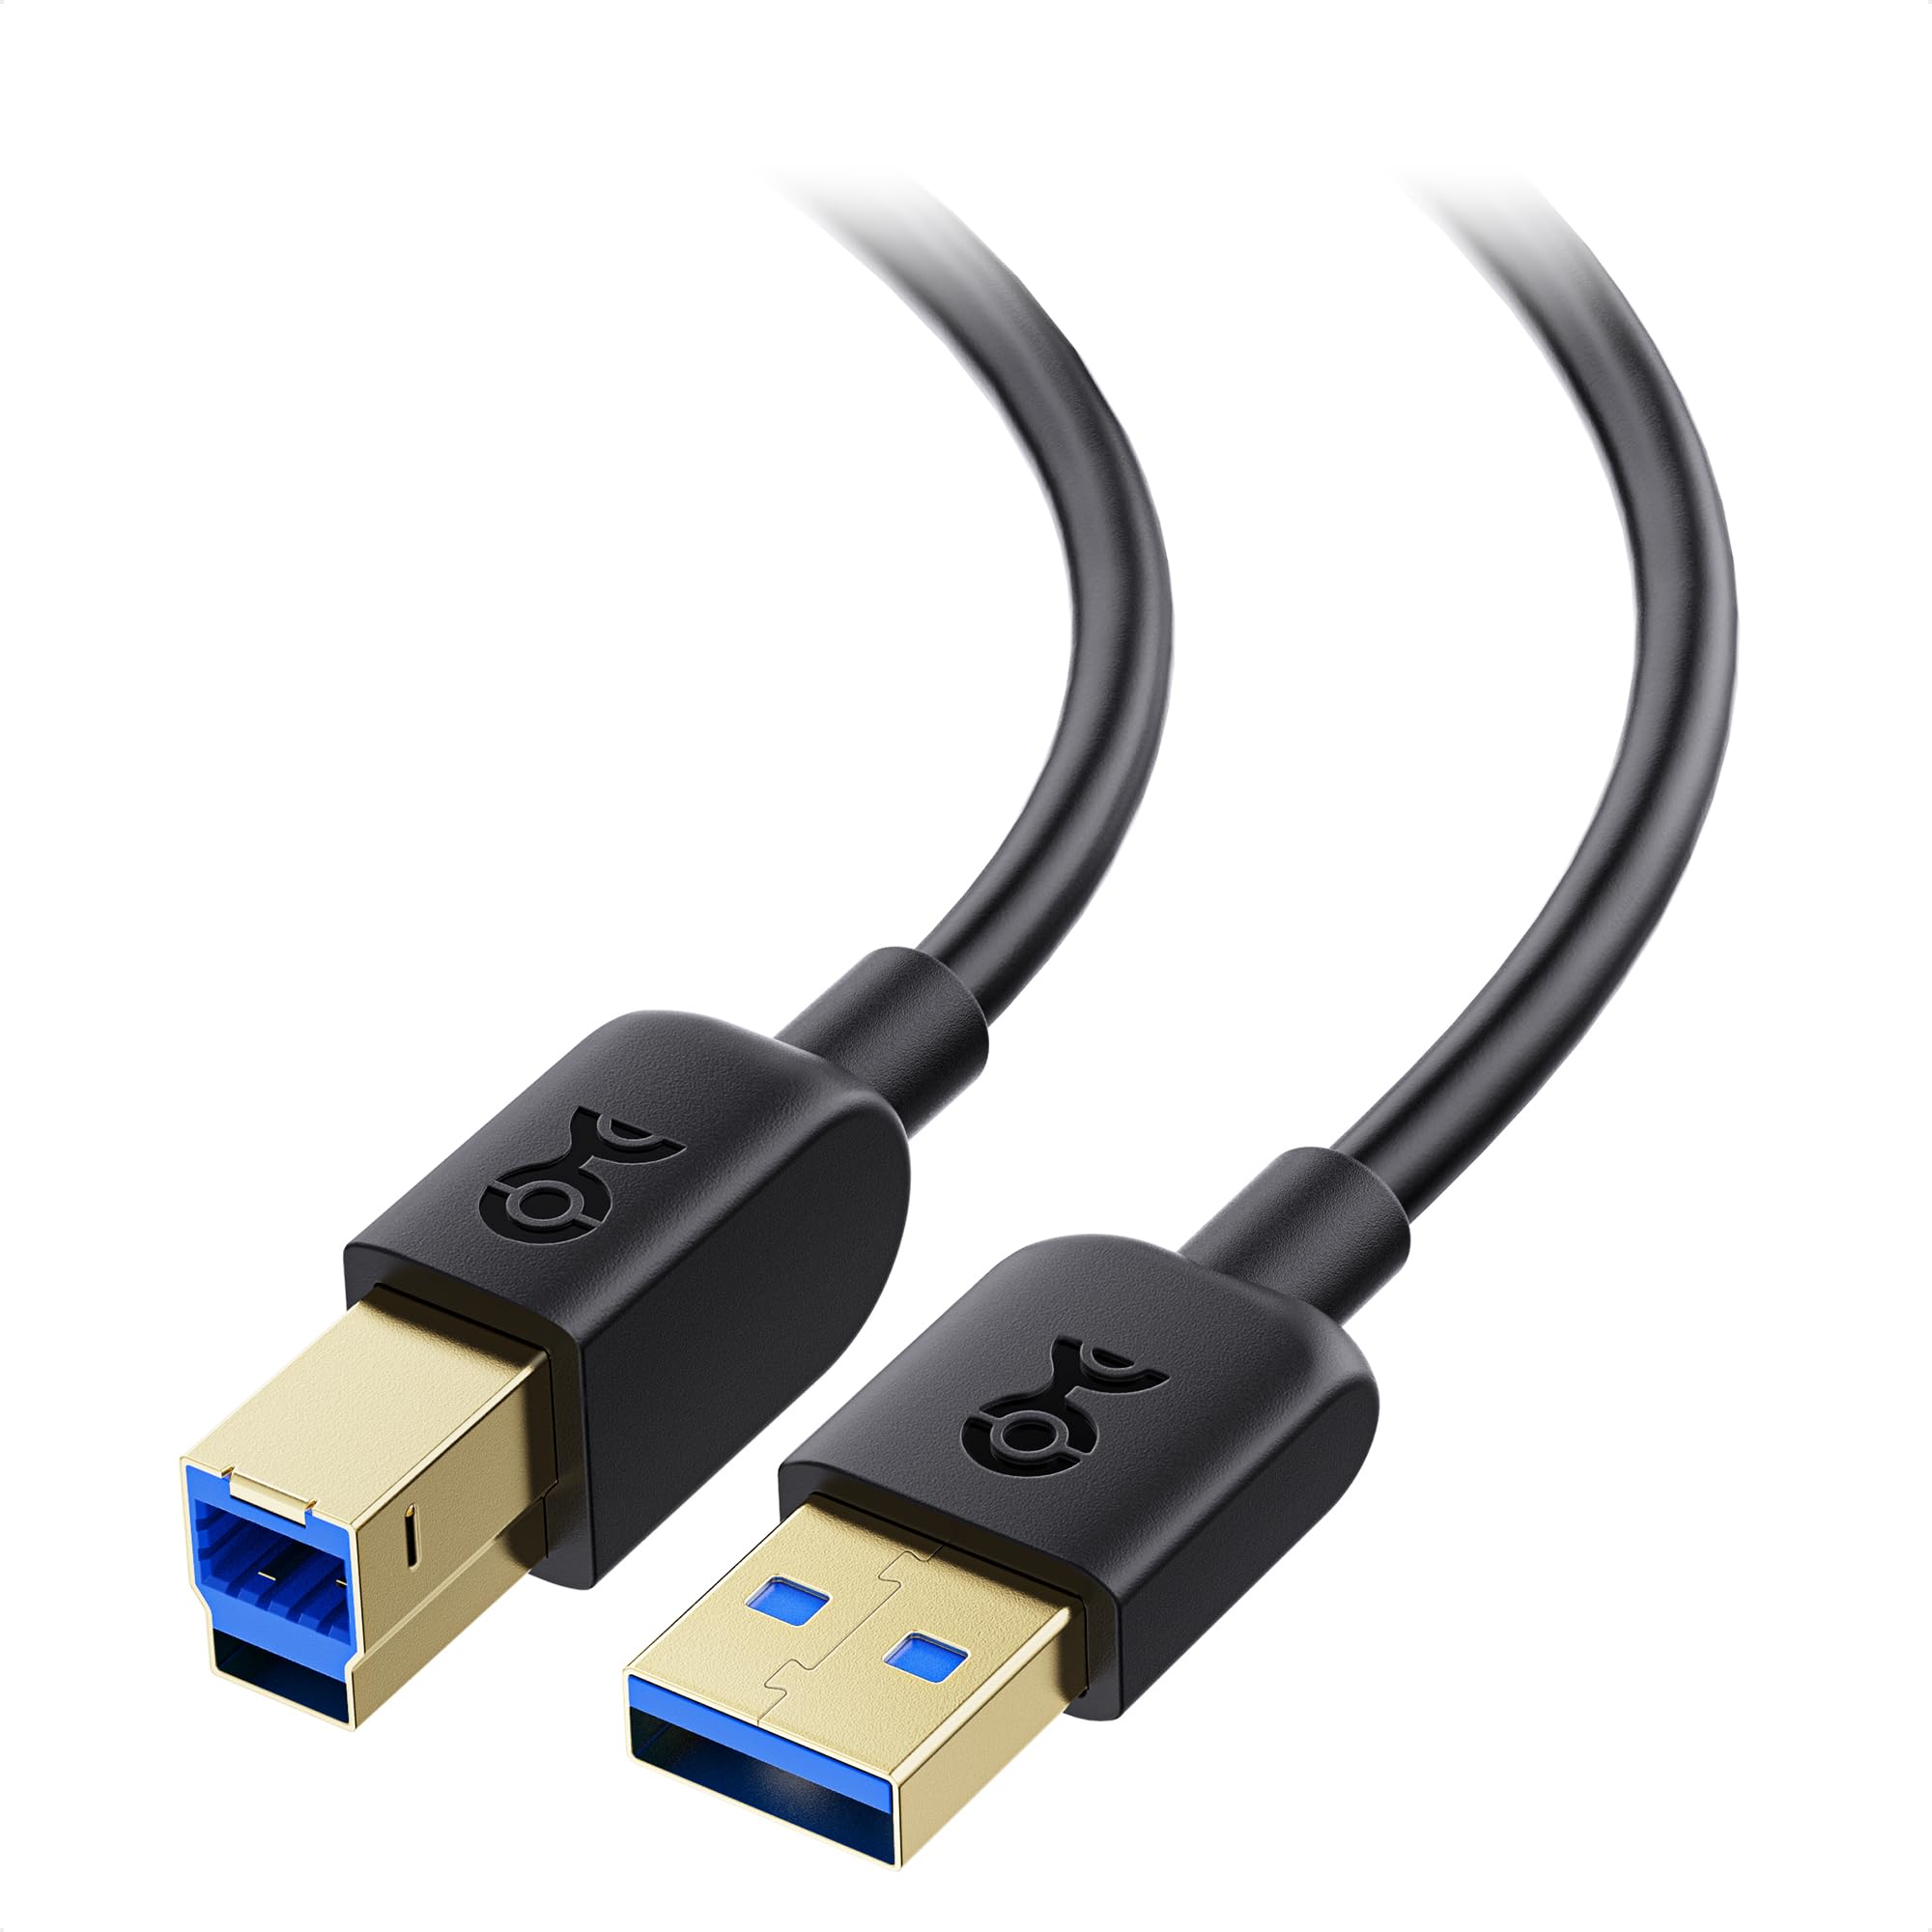
If you are experiencing slow transfer speeds with your USB 3. 0 on Windows 10, there are a few steps you can take to fix the issue. First, make sure your USB flash drive is formatted correctly and not corrupted. You can do this by right-clicking on the drive in the File Explorer and selecting “Format”. Next, check for any updates to your operating system by going to the Start menu and searching for “Windows Update”. Update any available updates and restart your computer.
If the issue persists, try using a different USB port or a different USB cable. You can also try updating the device driver for your USB controller by going to the Device Manager, finding the USB controller under “Universal Serial Bus controllers”, right-clicking on it, and selecting “Update driver”. Finally, if none of these steps work, you may want to consider performing a System Restore to a point before the issue started.
Common Causes of Slow Transfers

- USB 3.0 cable or port issues
- Outdated USB 3.0 drivers
- Power management settings
- Background processes
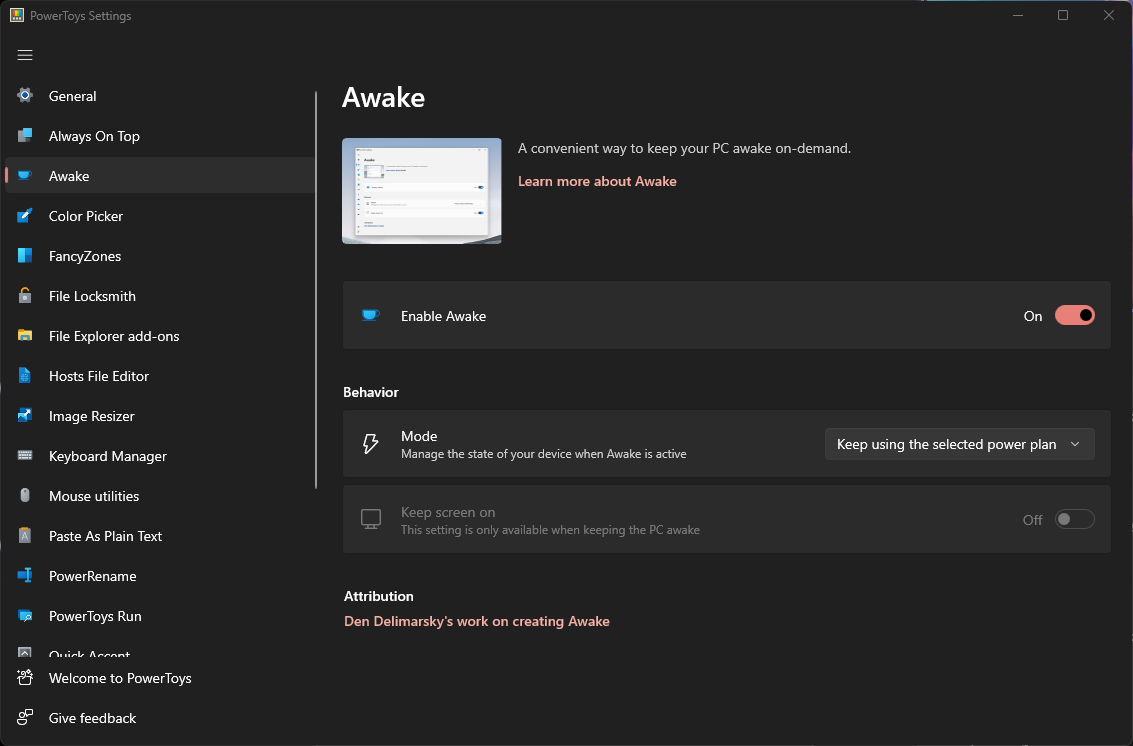
- USB selective suspend
Repair Steps:
- Check USB 3.0 cable or port issues
- Ensure that the USB 3.0 cable is properly connected to the device and the USB 3.0 port.
- Try using a different USB 3.0 cable to rule out any cable-related issues.
- Test the transfer speed with another USB device to check if the port itself is causing the slow transfer.
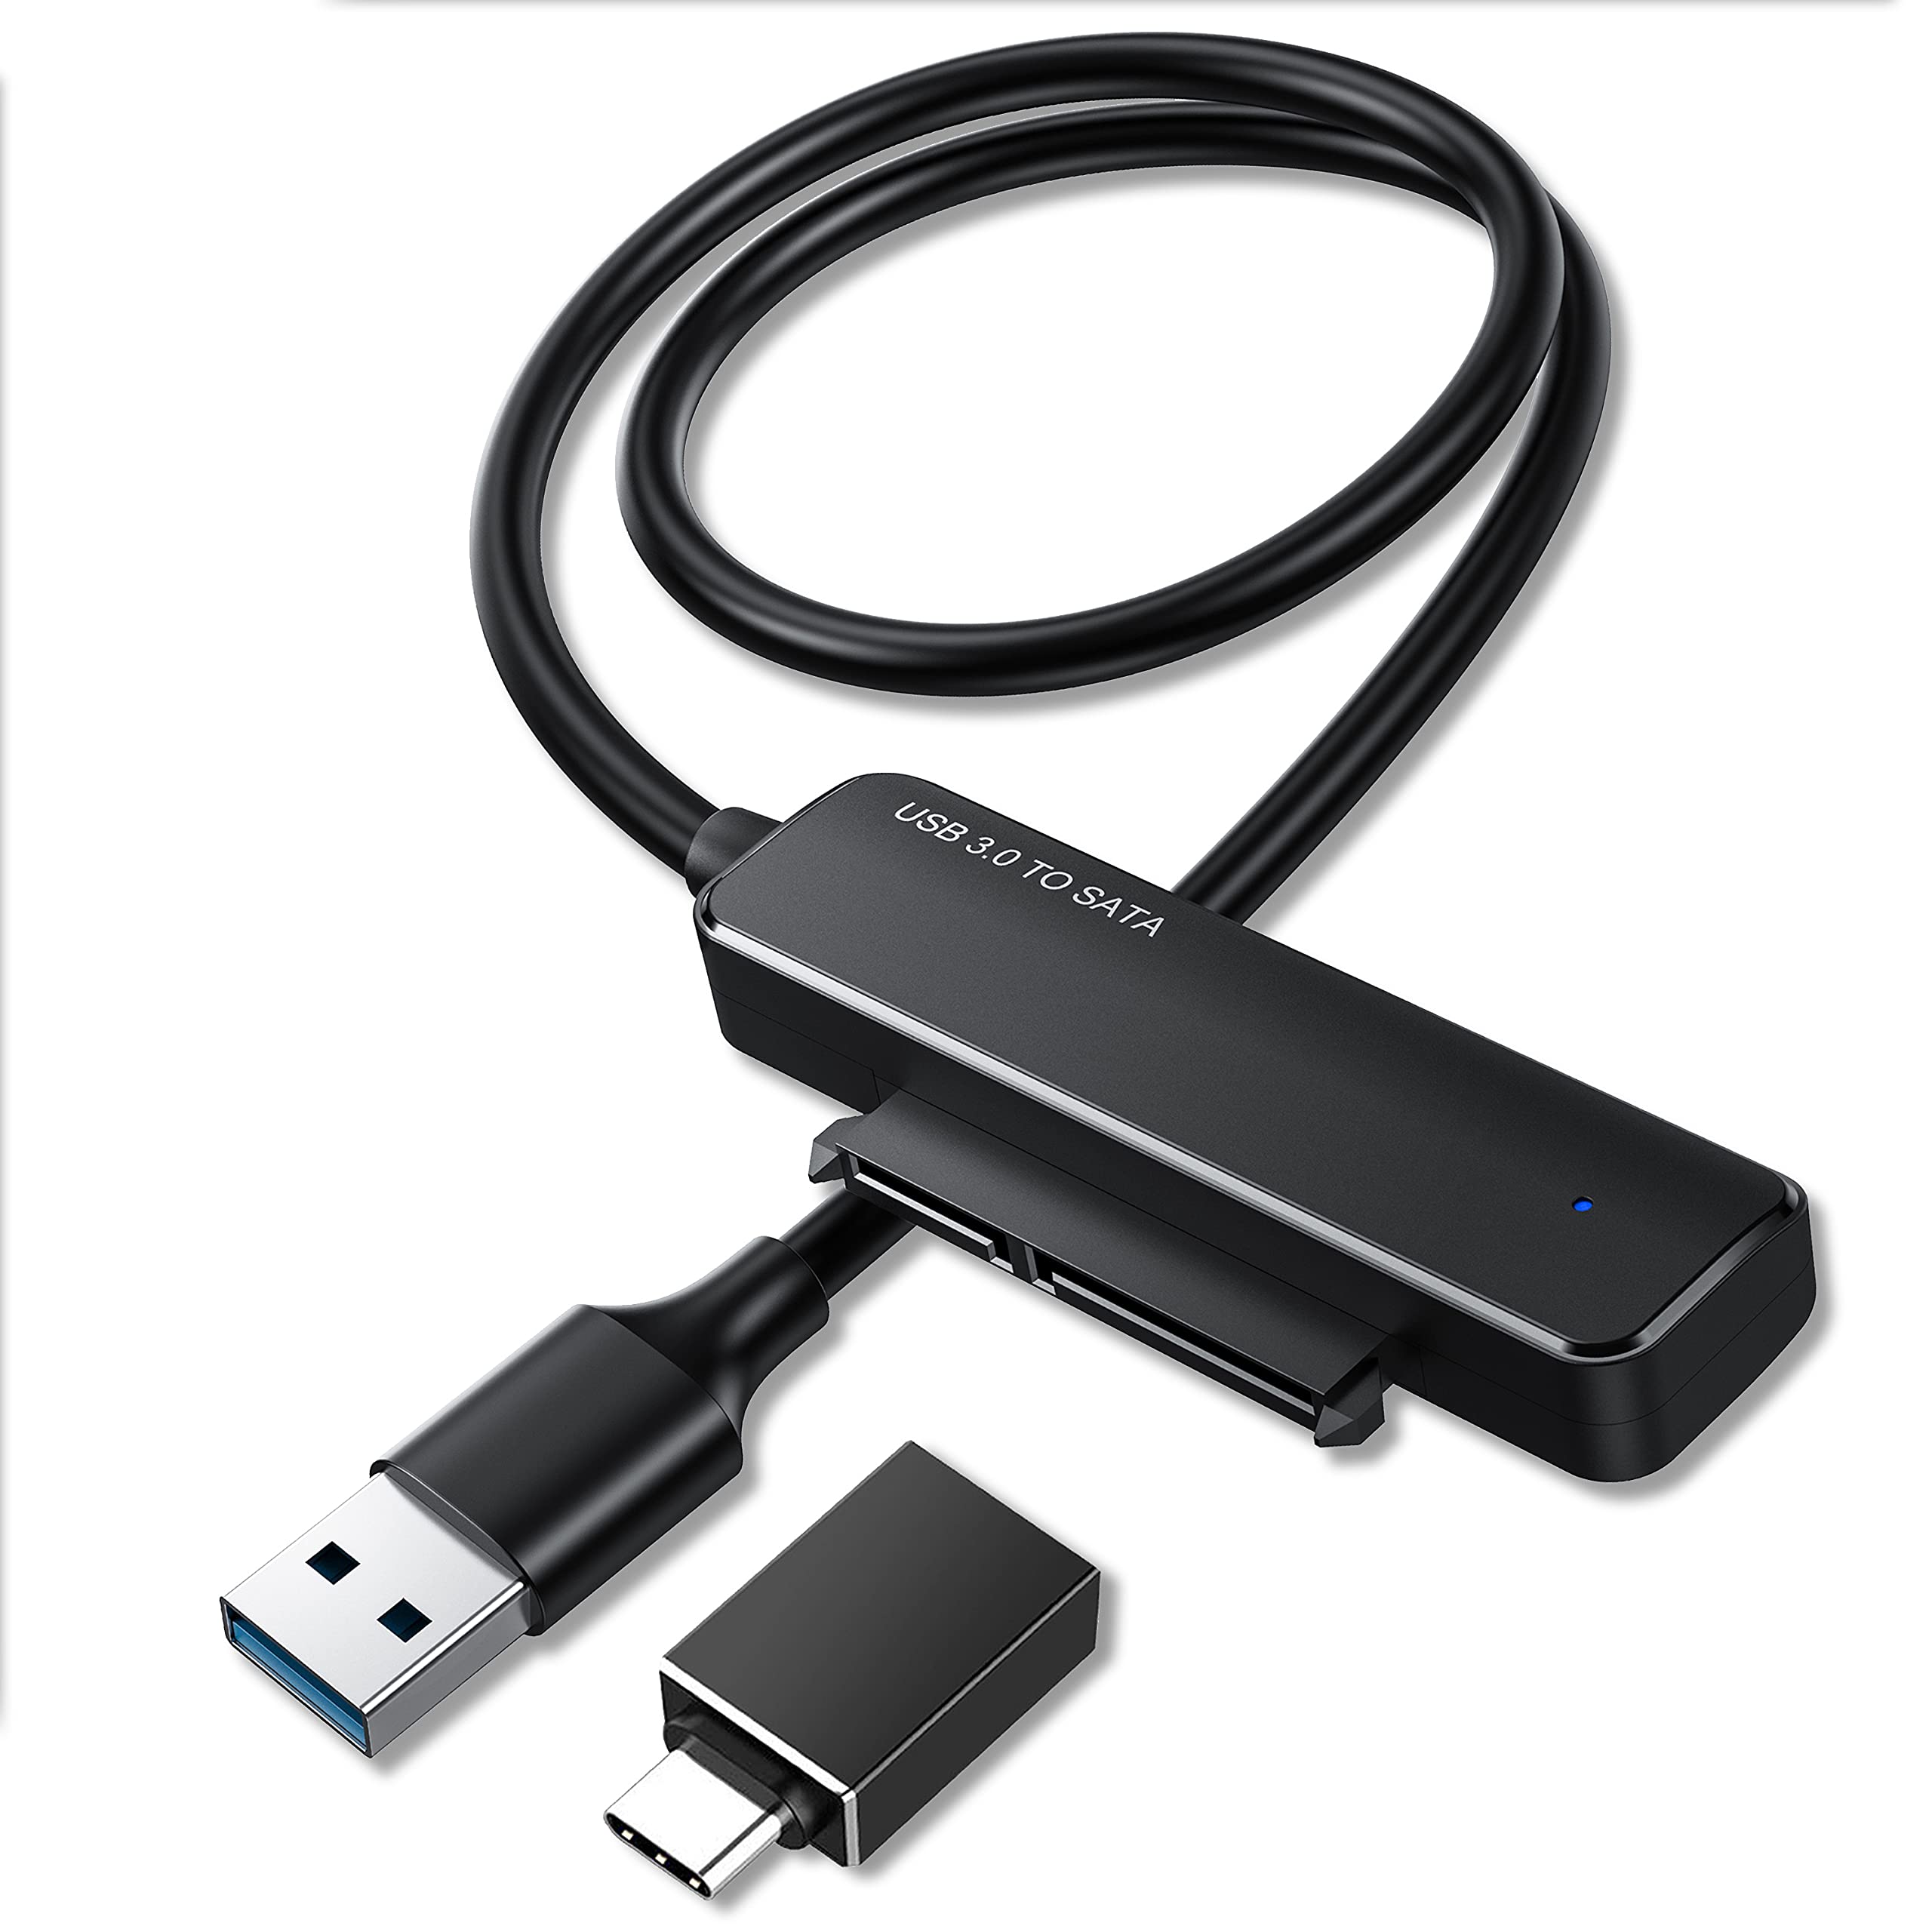
- Update USB 3.0 drivers
- Open Device Manager by pressing Windows Key + X and selecting Device Manager from the menu.
- Expand the Universal Serial Bus controllers category.
- Right-click on the USB 3.0 controller and select Update driver.
- Choose the option to Search automatically for updated driver software and follow the on-screen instructions.
- Adjust power management settings
- Open Power Options by pressing Windows Key + X and selecting Power Options from the menu.
- Select the currently active power plan and click on Change plan settings next to it.
- Click on Change advanced power settings.
- Expand the USB settings category and set both USB selective suspend setting and USB selective suspend setting (plugged in) to Disabled.
- Click Apply and then OK to save the changes.
- Identify and close background processes
- Open Task Manager by pressing Ctrl+Shift+Esc.
- Click on the Processes tab.
- Sort the processes by CPU or Memory to identify any resource-intensive processes.
- Right-click on the process and select End Task to close it.
- Repeat this for any other resource-intensive processes.
- Disable USB selective suspend
- Open Power Options by pressing Windows Key + X and selecting Power Options from the menu.
- Select the currently active power plan and click on Change plan settings next to it.
- Click on Change advanced power settings.
- Expand the USB settings category and set USB selective suspend setting and USB selective suspend setting (plugged in) to Disabled.
- Click Apply and then OK to save the changes.
Identifying USB 3.0 Ports
To identify USB 3.0 ports on your Windows 10 computer, follow these steps:
1. Open the Start menu and search for “Device Manager.”
2. Click on “Device Manager” in the search results to open it.
3. In the Device Manager window, expand the “Universal Serial Bus controllers” category.
4. Look for any entries that include “USB 3.0” or “xHCI” in their names.
5. If you find any such entries, those are your USB 3.0 ports.
6. To confirm, right-click on the USB 3.0 port entry and select “Properties” from the context menu.
7. In the Properties window, go to the “Driver” tab and check the driver details.
8. If the driver is labeled as “USB 3.0,” you have identified a USB 3.0 port.
Updating or Reinstalling USB Drivers
To update or reinstall USB drivers on Windows 10 and fix slow USB 3.0 transfer speeds, follow these steps:
1. Press the Windows key + X and select “Device Manager” from the context menu.
2. Expand the “Universal Serial Bus controllers” category.
3. Right-click on the USB driver and select “Update driver.”
4. Choose “Search automatically for updated driver software” and let Windows find and install the latest driver.
5. If the automatic update doesn’t work, right-click on the USB driver again and select “Uninstall device.”
6. Restart your computer and Windows will automatically reinstall the USB driver.
7. If the issue persists, visit the manufacturer’s website and download the latest driver for your USB chipset.
8. Install the downloaded driver and restart your computer.
These steps should help resolve slow USB 3.0 transfer speed issues on Windows 10.
Optimizing USB Flash Drive Performance
To optimize USB flash drive performance on Windows 10, follow these steps:
1. Ensure your USB flash drive is plugged into a USB 3.0 port. USB 2.0 ports may limit transfer speeds.
2. Update your operating system to the latest version. Windows updates often include important bug fixes and enhancements.
3. Check for any available driver updates for your USB flash drive. Visit the manufacturer’s website or use **Windows Device Manager** to update the driver.
4. Scan your computer for viruses using a reliable antivirus program like **Microsoft Defender Antivirus**. Viruses can slow down file transfers and overall system performance.
5. Use the built-in **Disk Cleanup** tool to remove unnecessary files and free up disk space. This can help improve transfer speeds.
6. If you suspect a hardware issue, try connecting your USB flash drive to a different USB port or on another computer to rule out any issues with your personal computer.
7. Consider using a reliable third-party software component to optimize your USB flash drive’s performance. These tools can help defragment files, optimize cache, and manage disk space.
Converting File System for Better Speed
To convert the file system for better speed on Windows 10 and fix slow USB 3.0 transfer speeds, follow these steps:
1. Open the Command Prompt as an administrator.
2. Type “convert [drive letter]: /FS:NTFS” and press Enter. Replace [drive letter] with the letter of the USB drive you want to convert.
3. Wait for the conversion process to complete. This may take some time depending on the size of the drive.
4. Once the conversion is finished, you can now experience faster transfer speeds on your USB 3.0 device.
Converting the file system to NTFS can help optimize performance and improve transfer speeds on USB devices.
Troubleshooting with Hardware and Device Tools
1. Update your device drivers: Check for any outdated or incompatible drivers that may be affecting the transfer speed. Update them to the latest version.
2. Check USB ports: Try different USB ports on your computer to rule out any issues with specific ports.
3. Disable Power Saving: Disable USB selective suspend in the power settings to ensure maximum performance.
4. Check for software conflicts: Temporarily disable any third-party software components that may be interfering with the USB transfer speed.
5. Scan for malware: Run a thorough scan with Microsoft Defender Antivirus to check for any viruses or malware that could be affecting performance.
6. Reset USB settings: Reset the USB settings on your computer to default values, which can help resolve any configuration issues.
7. Update Windows: Ensure that your Windows 10 is up to date with the latest updates and patches. This can address any known bugs or issues related to USB transfer speeds.
Ensuring Proper USB Connection
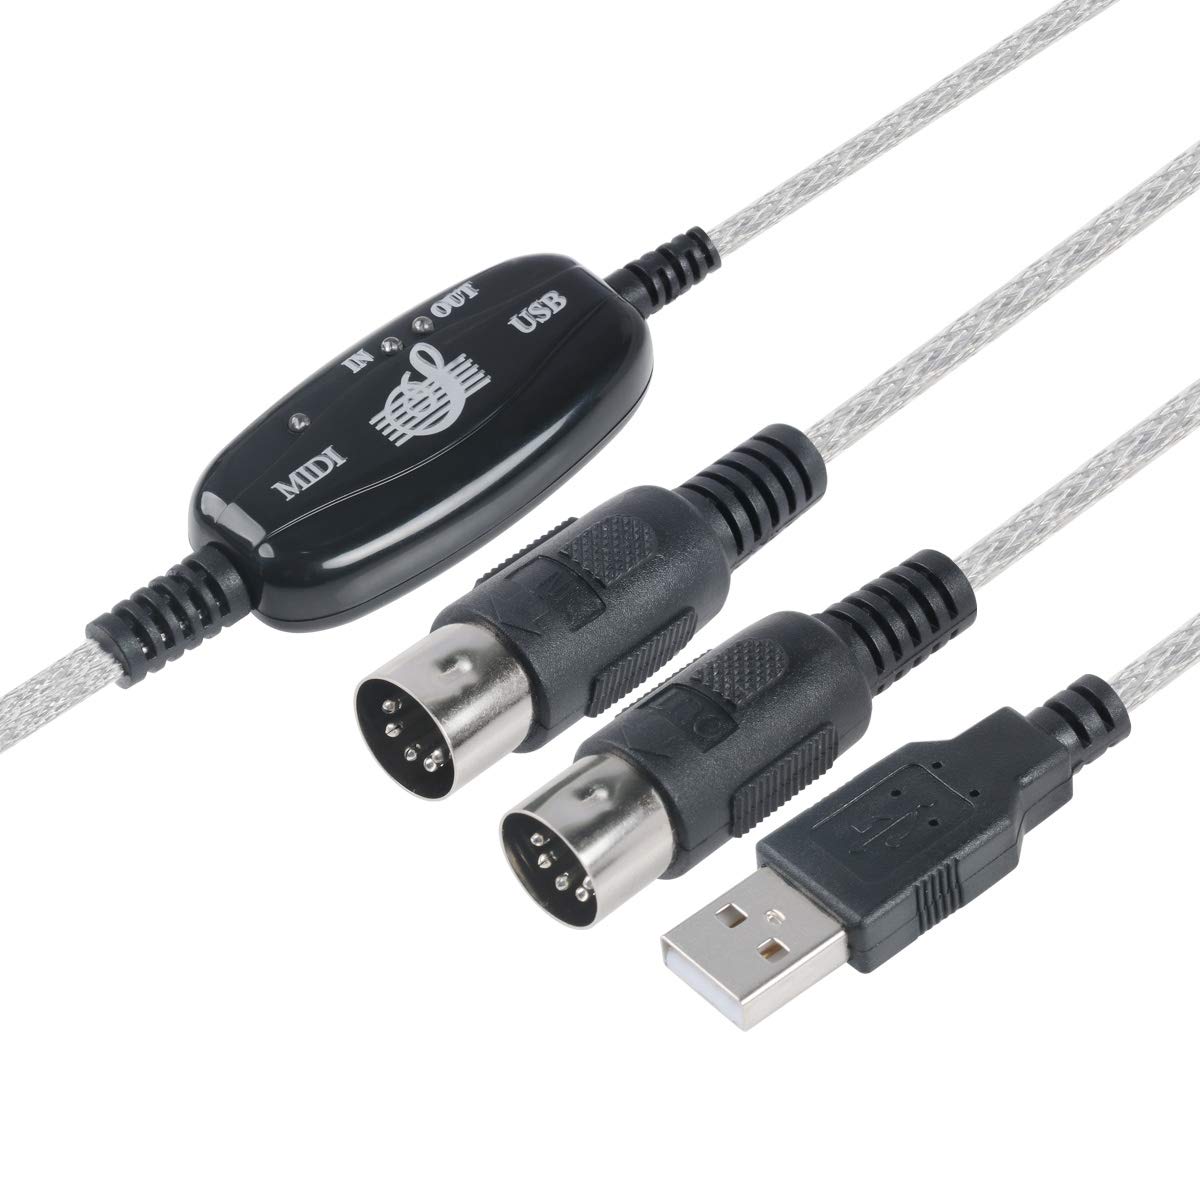
To ensure proper USB connection and fix slow transfer speeds on Windows 10, follow these steps:
1. Check the USB cable: Make sure the cable is securely connected on both ends and not damaged. If necessary, try a different cable.
2. USB 3.0 port: Ensure that you are using a USB 3.0 port on your computer for faster transfer speeds.
3. Update drivers: Go to the manufacturer’s website and download the latest drivers for your USB controller. Install them and restart your computer.
4. Disable power saving: Open the Device Manager, expand the “Universal Serial Bus controllers” category, right-click on each USB Root Hub, go to “Properties,” and uncheck the “Allow the computer to turn off this device to save power” option.
5. Remove other USB devices: Disconnect any unnecessary USB devices from your computer to free up bandwidth.
6. Disable antivirus/firewall: Temporarily disable your antivirus or firewall software as they may interfere with USB transfers.
7. Check for Windows updates: Make sure your Windows 10 is up to date by going to Settings > Update & Security > Windows Update, and click on “Check for updates.”
Enabling USB 3.0 Support in Settings
To enable USB 3.0 support in your Windows 10 settings, follow these steps:
1. Open the Start menu and type “Device Manager” into the search bar.
2. Click on the “Device Manager” app that appears in the search results.
3. In the Device Manager window, expand the “Universal Serial Bus controllers” category.
4. Look for any USB controllers that have “3.0” in their name or description. These are your USB 3.0 ports.
5. Right-click on the USB 3.0 controller and select “Properties” from the context menu.
6. In the Properties window, go to the “Driver” tab.
7. Click on the “Update Driver” button.
8. Choose the option to automatically search for updated driver software.
9. Wait for Windows to search for and install the latest driver for your USB 3.0 controller.
10. Restart your computer to apply the changes.
By enabling USB 3.0 support in your settings, you should experience faster transfer speeds when using USB 3.0 devices.
Summary and Best Practices for Speed Maintenance

- Check USB Port: Ensure that the USB port you are using is compatible with USB 3.0 and not a slower version.
- Update USB Drivers: Visit the manufacturer’s website and download the latest USB drivers for your device.
- Restart the Computer: Sometimes a simple restart can resolve speed issues with USB transfers.
- Disable USB Selective Suspend: Open the Power Options in Windows and disable the USB Selective Suspend setting.
- Scan for Malware: Run a full system scan using reliable antivirus software to check for any malware that may be affecting USB transfer speeds.
- Disable Power Saving Mode: Make sure your computer is not in a power-saving mode that could limit USB performance.
- Update Windows: Keep your operating system up to date with the latest Windows updates, as they often include bug fixes and performance improvements.
- Use a Different USB Port: Try connecting your USB device to a different port on your computer to see if the speed improves.
- Check USB Cable: Ensure that the USB cable you are using is not damaged or faulty, as this can significantly impact transfer speeds.
- Disable USB Hub: If you are using a USB hub, try connecting the USB device directly to your computer instead to rule out any issues with the hub.
F.A.Q.
Why is my USB 3.0 slow?
Your USB 3.0 may be running slow because it is not enabled in the BIOS. To resolve this issue, restart your computer and enter the BIOS by pressing F2 and Delete simultaneously on your keyboard.
How do I fix slow USB transfer speed?
To fix slow USB transfer speed, consider updating the USB drive driver or its chipset drivers. EaseUS DriverHandy is a utility that can assist with updating the USB driver.
How fast should a USB 3.0 flash drive be?
A USB 3.0 flash drive should have an average read speed range of 60 to 150 Mbps and an average write speed range of 10 to 45 Mbps.
How do I check my USB 3.0 port speed?
To check the speed of your USB 3.0 port, ensure you have the USB 3.0 hardware. Then, open Device Manager and navigate to the Universal Serial Bus controller section. You can use USBView to view the bus speed visually or check the bus speed programmatically.
