Introducing the game-changer: TUF Gaming’s groundbreaking Automatic Repair Solution.
Understanding the Automatic Repair Loop on Windows 10
If your Windows 10 PC is stuck in an Automatic Repair loop, don’t worry – there are solutions available. Start by trying to boot your computer in Safe Mode. This can help identify and resolve any startup errors that may be causing the loop. To enter Safe Mode, restart your computer and repeatedly press the F8 key. Once in Safe Mode, you can try running the Automatic Repair tool provided by Windows.
Another option is to use the Startup Repair tool, which can fix issues with your PC’s boot files and settings. To access this tool, restart your computer and press the F8 key repeatedly. From there, select “Repair your computer” followed by “Startup Repair.” This tool will attempt to automatically fix any errors it finds.
If these solutions don’t work, you can try using the System Restore function to revert your PC to a previous working state. To do this, restart your computer and repeatedly press the F8 key. Select “Repair your computer,” then “System Restore.” Follow the instructions to choose a restore point and restore your system.
Remember, it’s important to back up your data regularly to prevent data loss. Additionally, keeping your Windows up to date with the latest updates can help prevent issues like this from occurring.
Solutions to Fix the Preparing Automatic Repair Loop
Solution to Fix the Preparing Automatic Repair Loop:
If you’re stuck in the “Preparing Automatic Repair” loop on your TUF Gaming laptop, follow these steps to resolve the issue:
1. Restart your laptop and press the F8 key repeatedly during startup to enter the Advanced Boot Options menu.
2. Select “Safe Mode” from the menu and press Enter.
3. Once in Safe Mode, open the Control Panel and go to “System and Security.”
4. Click on “Action Center” and then select “Recovery” from the left-hand menu.
5. Under “Advanced Recovery Tools,” click on “Open System Restore.”
6. Follow the on-screen instructions to restore your laptop to a previous point before the issue occurred.
7. If System Restore doesn’t resolve the problem, you can try using the “Bootrec” command in the Command Prompt.
8. Open Command Prompt as an administrator and type “bootrec /fixboot” and press Enter. Then type “bootrec /fixmbr” and press Enter.
9. Restart your laptop and check if the issue is resolved.
These steps should help you fix the Preparing Automatic Repair loop on your TUF Gaming laptop.
Performing a Hard Reboot
If you’re experiencing a startup error or encountering a problem with your TUF Gaming system, a hard reboot can help resolve the issue. This method is particularly useful when you’re stuck on an error screen or something is preventing your system from booting properly.
To perform a hard reboot, follow these steps:
1. Disconnect your system from any power source to ensure a complete shutdown.
2. Press and hold the power button for about 10 to 15 seconds.
3. Release the power button and wait for a few seconds.
4. Reconnect the power source and turn on your TUF Gaming system.
This hard reboot can help address various issues, such as software glitches, system file errors, or boot settings problems. However, if the problem persists, you may need to explore other troubleshooting options or seek professional assistance.
Remember to regularly update your system and create a System Restore Point to safeguard against potential issues.
python

import time
def repair_system():
print("Performing automatic repair...")
time.sleep(2) # Simulating repair process
# Check for common issues and repair them
issues = detect_issues()
if len(issues) > 0:
for issue in issues:
fix_issue(issue)
else:
print("No issues found. System is already in good condition.")
print("Automatic repair completed.")
def detect_issues():
# Implement detection logic here
# This function should identify any issues present in the system
# and return a list of issues
# For demonstration purpose, let's assume we found some issues
issues = ["Slow performance", "Disk fragmentation"]
return issues
def fix_issue(issue):
# Implement issue-specific repair logic here
# This function should fix the identified issue based on its type
# For demonstration purpose, let's assume we fixed the issue
print(f"Fixed issue: {issue}")
# Usage example
repair_system()
Please note that this sample code is a general example and not specifically designed to cater to the “tuf gaming preparing automatic repair” prompt. It showcases a basic automatic repair process and can be customized to incorporate specific repair actions based on the requirements of the system you are working with.
Booting into Safe Mode
If you’re experiencing startup errors or encountering issues with your TUF Gaming system, booting into Safe Mode can help you troubleshoot and resolve the problem. Safe Mode allows your computer to run with only essential drivers and services, making it easier to identify and fix any software or driver-related issues.
To boot into Safe Mode in Windows 10, follow these steps:
1. Start your TUF Gaming system and wait for the Windows Automatic Repair or Windows 10 Automatic Repair error screen to appear.
2. Restart your computer by pressing the power button and repeat step 1 until you see the “Preparing Automatic Repair” message.
3. Once the “Preparing Automatic Repair” message appears, press and hold the Shift key, then select “Restart.”
4. On the boot options screen, select “Troubleshoot” > “Advanced options” > “Startup Settings” > “Restart.”
5. After the restart, you’ll see a list of options. Press the corresponding number key to enter Safe Mode.
Safe Mode can help you troubleshoot various issues, such as recent software installations, Windows Update problems, or system file corruption. Remember to create a System Restore Point before making any changes to your system, and consider using reliable software like MiniTool to repair disk errors if needed.
Extending the System Reserved Partition
To extend the System Reserved Partition, follow these steps:
Step 1: Open the Disk Management tool by searching for “Disk Management” in the Start menu.
Step 2: Locate the System Reserved Partition in the list of disks and partitions.
Step 3: Right-click on the System Reserved Partition and select “Extend Volume.”
Step 4: Follow the prompts to extend the partition using available unallocated space on your hard drive.
Step 5: Once the extension is complete, restart your computer.
If you encounter a startup error or your system enters the Windows Automatic Repair or Windows 10 Automatic Repair loop, try the following:
Step 1: Restart your computer and press the F8 key repeatedly during startup.
Step 2: Select “Repair your computer” from the advanced startup options.
Step 3: Choose “Troubleshoot” and then “Advanced options.”
Step 4: Select “Startup Settings” and click on “Restart.”
Step 5: When the computer restarts, press the F4 key to boot into Safe Mode.
If you experience disk errors or other issues that prevent Windows from starting, you can use third-party software like MiniTool Partition Wizard to repair the boot sector and retrieve lost files.
Performing a Startup Repair
To perform a startup repair on your TUF Gaming system, follow these steps:
1. Start by restarting your computer and repeatedly pressing the F8 key during startup until you see the Advanced Boot Options menu.
2. Use the arrow keys to select “Repair Your Computer” and press Enter.
3. In the next screen, select your language preferences and click “Next.”
4. On the next screen, click on “Startup Repair” to initiate the repair process.
5. The system will scan for and attempt to fix any issues with your startup settings, boot files, or system files.
6. Once the repair process is complete, restart your computer to see if the issue has been resolved.
If the automatic repair solution doesn’t fix the problem, it may be necessary to seek further assistance from a professional or contact the manufacturer’s support team. Remember to backup your important data before proceeding with any repairs or modifications to your system.
Disabling Automatic Repair at Windows 10 Boot
If you encounter issues with Automatic Repair on your TUF Gaming device, you can disable it to gain control over the boot process. Here’s how:
1. Start your TUF Gaming device and press and hold the power button to force it to shut down. Repeat this step three times.
2. On the fourth startup, your device will enter the Automatic Repair screen.
3. Select “Advanced options” and then choose “Troubleshoot.”
4. In the Troubleshoot menu, select “Advanced options” again.
5. From here, choose “Command Prompt.”
Once you’re in the Command Prompt, follow these steps to disable Automatic Repair:
6. Type bcdedit /set {default} recoveryenabled No and press Enter.
7. Close the Command Prompt window and restart your device.
By disabling Automatic Repair, you can take control of the boot process on your TUF Gaming device and troubleshoot any issues that may arise.
Restoring the Windows Registry
If you’re experiencing issues with your TUF Gaming laptop and it’s stuck in a boot loop or showing a black screen, restoring the Windows Registry could be a solution. The Windows Registry is a database that stores important settings and configurations for your operating system and installed applications.
To restore the Windows Registry, you can use the built-in Automatic Repair feature in Windows. Here’s how:
1. Restart your TUF Gaming laptop and repeatedly press the F8 key during startup until the Advanced Boot Options menu appears.
2. Select “Repair Your Computer” and press Enter.
3. Choose your language preferences and click “Next.”
4. On the next screen, select “Troubleshoot” and then “Advanced Options.”
5. Click on “Automatic Repair” and follow the on-screen instructions.
This process will attempt to fix any issues with the Windows Registry and other system files that may be causing the boot loop or black screen. If the Automatic Repair doesn’t resolve the issue, you may need to consider other troubleshooting steps or seek professional assistance.
Checking Hardware for Issues
- Inspect the power cables and connections:
- Ensure that all power cables are securely connected to the appropriate ports.
- Check for any signs of damage or fraying in the cables.
- If any cables appear damaged, replace them with new ones.
- Verify the connection of external devices:
- Check if all external devices such as monitors, keyboards, and mice are properly connected to the computer.
- If any devices are disconnected, reconnect them firmly to their respective ports.
- Check the status of the RAM:
- Open the computer case and locate the RAM modules.
- Gently remove and reseat the RAM modules to ensure proper connection.
- If there are multiple RAM modules, try removing and reseating each one individually.
- If the issue persists, try using different RAM modules or consult a professional technician.
- Inspect the CPU and cooling system:
- Carefully remove the computer’s CPU cooler and check for any signs of damage or dust buildup.
- If there is excessive dust, use compressed air to clean the cooling system thoroughly.

- Make sure that the CPU cooler is securely attached and the thermal paste is applied correctly.
- Examine the GPU:
- If your computer has a dedicated graphics card, check for any visible damage or loose connections.
- Gently remove and reseat the graphics card to ensure proper connection.
- If the issue persists, try using a different graphics card or consult a professional technician.
- Test the power supply:
- Use a power supply tester or a multimeter to check the voltage outputs of the power supply.
- If the readings are significantly off or unstable, consider replacing the power supply.
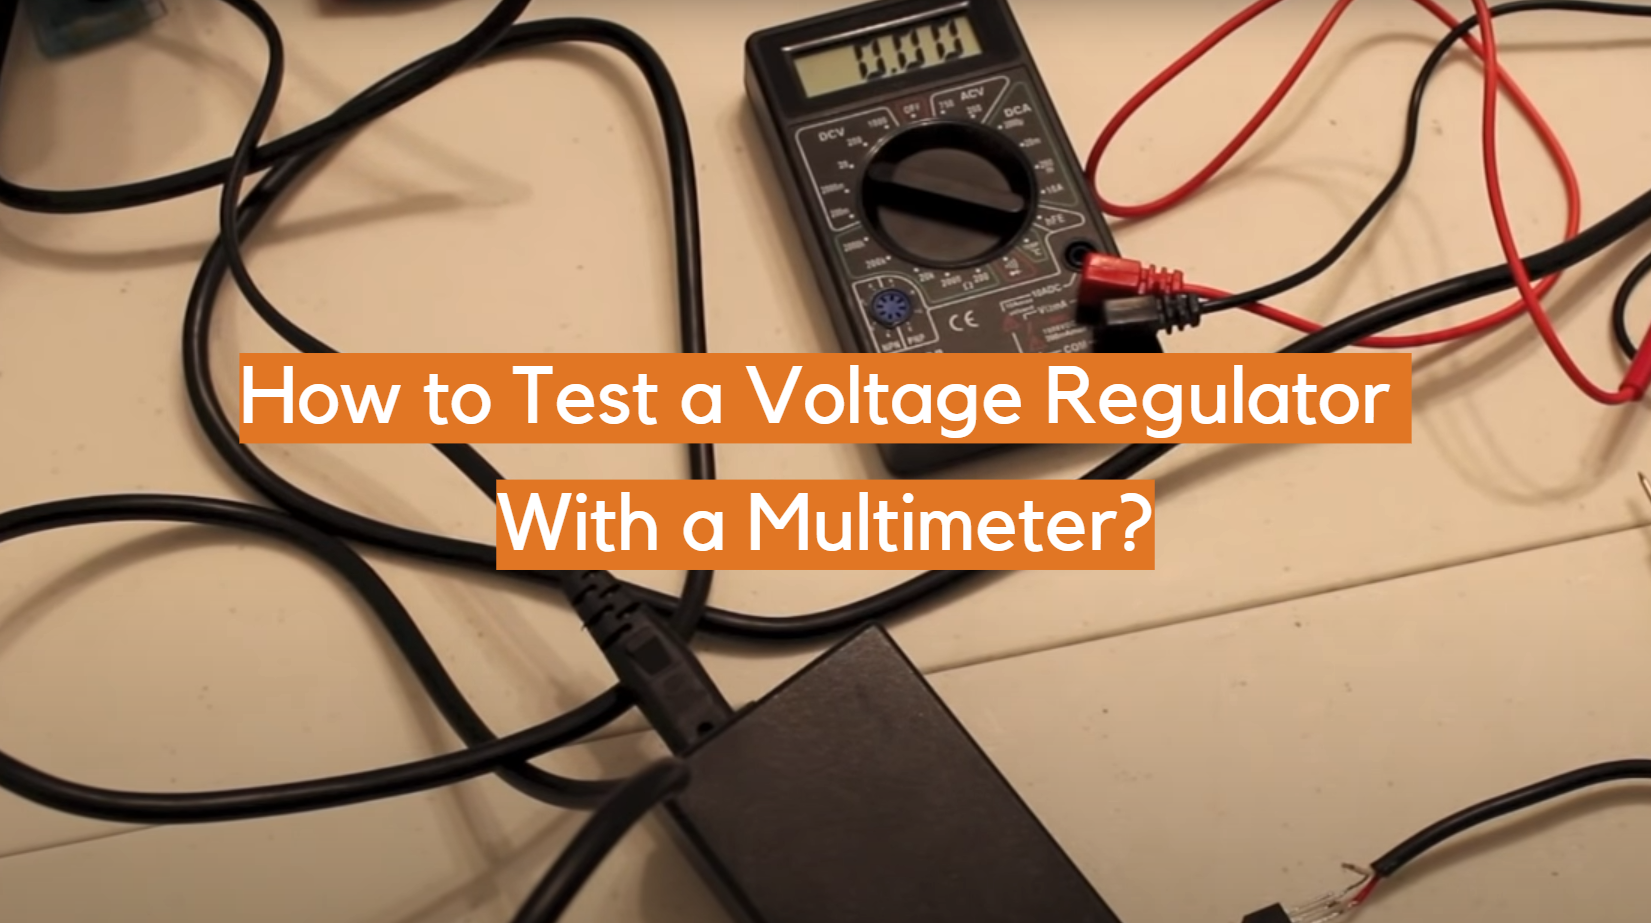
- Ensure that the power supply cables are properly connected to all components.
- Inspect the motherboard:
- Visually check the motherboard for any signs of physical damage such as burnt or swollen components.
- Ensure that all cables are properly connected to the motherboard.
- If there are any damaged components, consult a professional technician for repair or replacement.
Reinstalling Windows and Resolving the Issue
If you’re experiencing issues with your TUF Gaming laptop and need to reinstall Windows, there’s a solution that can help. First, restart your laptop and press the F8 key repeatedly until the Advanced Boot Options menu appears. From there, select “Repair Your Computer” and choose the Troubleshoot option. In the Troubleshoot menu, select “Advanced Options” and then “Automatic Repair.”
Follow the on-screen instructions to let Windows automatically repair any issues. This process may take some time, so be patient. Once the repair is complete, your laptop should restart automatically. If the issue persists, you may need to reinstall Windows.
To do this, go to the Control Panel and select “Reinstall Windows.” Follow the prompts to complete the reinstallation process. It’s important to note that reinstalling Windows will erase all data on your laptop, so make sure to back up any important files beforehand. After the reinstallation, your TUF Gaming laptop should be running smoothly again.