Navigating through the digital realm can sometimes be frustrating, especially when encountering the notorious error message: “This File Does Not Have an App Associated.” In this article, we will explore the various solutions to circumvent this inconvenience and regain control over your files effortlessly. So, let’s dive in and uncover the secrets to fixing this exasperating issue!
Understanding the error message
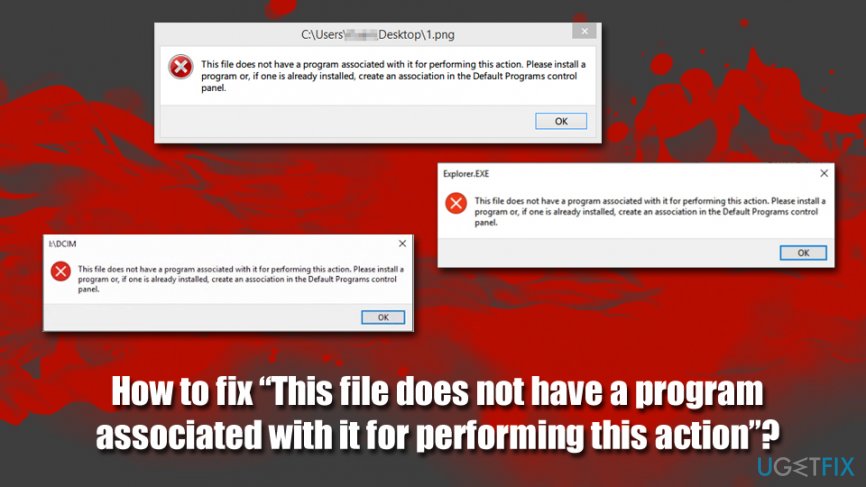
If you encounter the error message “This File Does Not Have an App Associated,” there are a few steps you can take to resolve the issue.
First, try resetting your default app settings. Go to Settings > Apps > Default Apps, and make sure the correct app is selected for the file type in question.
If that doesn’t work, you can try repairing the app associated with the file. Go to Settings > Apps > Apps & Features, select the app, and choose “Advanced options.” From there, you can select “Repair” to fix any issues.
Another option is to check for any updates for both the app and your Windows 11 operating system. Updates often include bug fixes and improvements that can resolve compatibility issues.
If the problem persists, check the file associations in your system. Right-click on the file and select “Properties,” then go to the “General” tab and click on “Change” to select the appropriate app.
Lastly, it’s always a good idea to scan your computer for malware using a trusted antivirus program. Malware infections can sometimes cause file association issues.
Common causes of the error
- Incorrect file association: This error can occur when the file type is not associated with any app on your device.
- Missing or corrupted app: If the app required to open the file is missing or corrupted, you may encounter this error.
- Outdated app version: An outdated app may not have the necessary capabilities to handle the file, leading to this error.
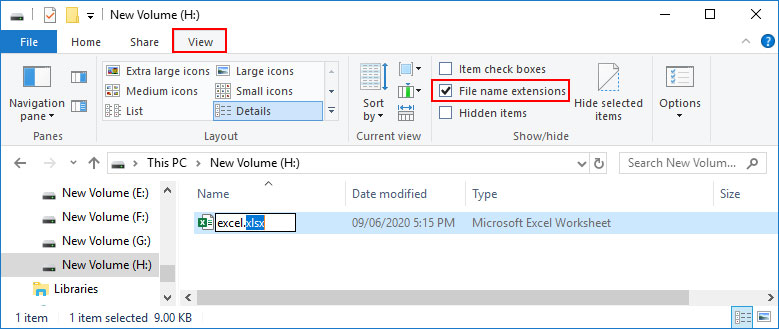
- File extension mismatch: When the file extension does not match the actual file format, this error can occur.

- Software conflict: Conflicts between different software installed on your device can prevent the file from being associated with the correct app.
- Registry errors: Issues within the registry database can disrupt the file association process and trigger this error.

- Operating system limitations: Certain operating systems have restrictions on file types they can handle, leading to this error.
- Insufficient permissions: If you do not have the necessary permissions to access or open the file, this error may occur.
Fixing missing or corrupted file associations
If you’re experiencing issues with missing or corrupted file associations, follow these steps to fix the problem:
1. Open File Explorer by pressing Win + E.
2. Navigate to the folder containing the file with the association problem.
3. Right-click on the file and select “Open with” > “Choose another app.”
4. A dialog box will appear with a list of recommended apps. If the desired app is listed, select it and check the box that says “Always use this app to open [file type].”
5. If the desired app is not listed, click “More apps” to see additional options.
6. If the app still does not appear, click “Look for another app on this PC” and browse to the location where the app is installed.
7. Select the app and click “Open” to associate it with the file.
8. If none of the above steps resolve the issue, you can try repairing the app or performing a system maintenance.
python

import subprocess
def open_file_with_default_app(filepath):
try:
subprocess.run(['open', filepath]) # For macOS
# subprocess.run(['xdg-open', filepath]) # For Linux
# subprocess.run(['start', filepath], shell=True) # For Windows
except FileNotFoundError:
print("No default app associated with this file type.")
# Example usage
file_path = '/path/to/file.txt'
open_file_with_default_app(file_path)
The `open_file_with_default_app` function takes a file path as input and attempts to open it with the default application associated with that file type. The `subprocess.run` function is used to execute a system command, which varies based on the operating system.
Adjusting default program settings
Adjusting default program settings can help resolve the issue of “This File Does Not Have an App Associated” error. To begin, open File Explorer and locate the file that is causing the problem. Right-click on the file and choose “Open with” from the context menu. Select the desired program from the list or click “Choose another app” to browse for additional options. If the program you want to use is not listed, click “More apps” and scroll down to find it.
To make the selected program the default choice for this file type, check the box that says “Always use this app to open . [file extension] files. ” Click “OK” to save the changes.
Updating or reinstalling associated programs
To update or reinstall associated programs in Windows 11, follow these steps:
1. Open the File Explorer by pressing the Windows key + E.
2. Navigate to the file that is showing the “This file does not have an app associated with it” error.
3. Right-click on the file and select “Open with” from the context menu.
4. Choose the desired program from the list or select “Choose another app” to browse for additional options.
5. If the program you want to use is not listed, click on “Look for another app on this PC” and navigate to its installation directory.
6. Select the program executable file (usually ending in .exe) and click “Open.”
7. If the program is already installed but doesn’t appear in the list, you can reset the default app settings. Open Settings, go to Apps, and then click on Default apps. Reset the default apps for the specific file type.
8. If the issue persists, try repairing the associated program. Open Settings, go to Apps, click on the program, and select “Advanced options.” Click on “Repair” and follow the on-screen instructions.
9. If none of the above solutions work, consider reinstalling the associated program. Uninstall it from the Apps & Features settings and then download the latest version from the official website.
Scanning for malware or viruses
To scan for malware or viruses on your computer, follow these steps:
1. Open Windows Defender Security Center by typing “Windows Defender” in the search bar and selecting it from the results.
2. In the Windows Defender Security Center, select “Virus & threat protection” from the left-hand menu.
3. Click on the “Quick scan” option to start a scan of your computer for malware and viruses.
4. Wait for the scan to complete. If any threats are found, Windows Defender will take appropriate action to remove or quarantine them.
5. Once the scan is finished, you can review the scan results and take further action if needed.
Clearing temporary files
To clear temporary files and fix the error “This file does not have an app associated,” follow these steps:
1. Press the Windows key + R to open the Run dialog box.
2. Type “%temp%” and press Enter. This will open the Temporary files folder.
3. Select all the files and folders in the folder and delete them.
4. Press the Windows key + R again, type “temp” and press Enter. This will open another Temporary files folder.
5. Delete all the files and folders in this folder as well.
6. Open the Command Prompt as an administrator by searching for “Command Prompt” in the Start menu, right-clicking on it, and selecting “Run as administrator.”
7. Type “cleanmgr” and press Enter. This will open the Disk Cleanup utility.
8. Select the drive where your operating system is installed (usually C:) and click OK.
9. Check the boxes next to the types of files you want to delete, such as Temporary files, and click OK.
10. Restart your computer to complete the process.
By clearing temporary files, you can resolve various errors and improve your computer’s performance.
Repairing corrupted system files
How to Fix “This File Does Not Have an App Associated”
When encountering the error message “This file does not have an app associated with it for performing this action,” it often indicates a corrupted system file. Follow the steps below to repair the corrupted system files:
| Step | Description |
|---|---|
| Step 1 | Launch Command Prompt as an administrator. |
| Step 2 | Type the following command and press Enter: sfc /scannow |
| Step 3 | Wait for the System File Checker (SFC) utility to scan and repair the corrupted system files. This process may take some time. |
| Step 4 | Restart your computer to apply the repaired system files. |
| Step 5 | Try opening the file again to check if the issue has been resolved. |
