Are you experiencing the frustration of your laptop turning on and off randomly? This article will provide simple and effective solutions to fix this problem.
Assess Power Supply and Connections
Assessing the power supply and connections is crucial when dealing with a laptop that turns on and off randomly. Start by checking the power supply unit, power cable, and connections to ensure everything is securely connected and functioning properly.
Make sure the power cable is plugged in securely to both the laptop and the power source.
Next, inspect the power supply unit for any signs of damage or overheating. If everything looks good, try using a different power supply or connecting to a different power source to see if the issue persists.
If the power supply and connections seem to be in good condition, it may be worth checking the BIOS settings to ensure they are correctly configured.
In some cases, a faulty power button can also cause the laptop to turn on and off randomly. Check the power button for any physical damage or sticking, and consider replacing it if necessary.
By thoroughly assessing the power supply and connections, you can eliminate potential causes of the issue and move on to other troubleshooting steps if needed.
Monitor and Manage Computer Temperature
To monitor and manage the computer temperature, it’s important to first check if the cooling system is working properly. Make sure the laptop’s vents are not blocked and the fan is free from dust and debris. Use a cooling pad to help regulate the temperature during heavy usage.
If the laptop continues to turn on and off randomly, it’s crucial to monitor the temperature of the CPU and GPU. Download a temperature monitoring software to keep an eye on the internal temperature of the laptop. This will help you identify if overheating is the cause of the issue.
Once you have identified the overheating problem, you can manage the temperature by adjusting the power settings on the laptop. Lowering the maximum processor state in the power options can help reduce the temperature during heavy usage.
In addition to managing the power settings, clean the internal components of the laptop to ensure proper airflow and cooling. If the issue persists, consider seeking professional help to diagnose and fix any hardware-related problems.
Verify and Test Memory Modules
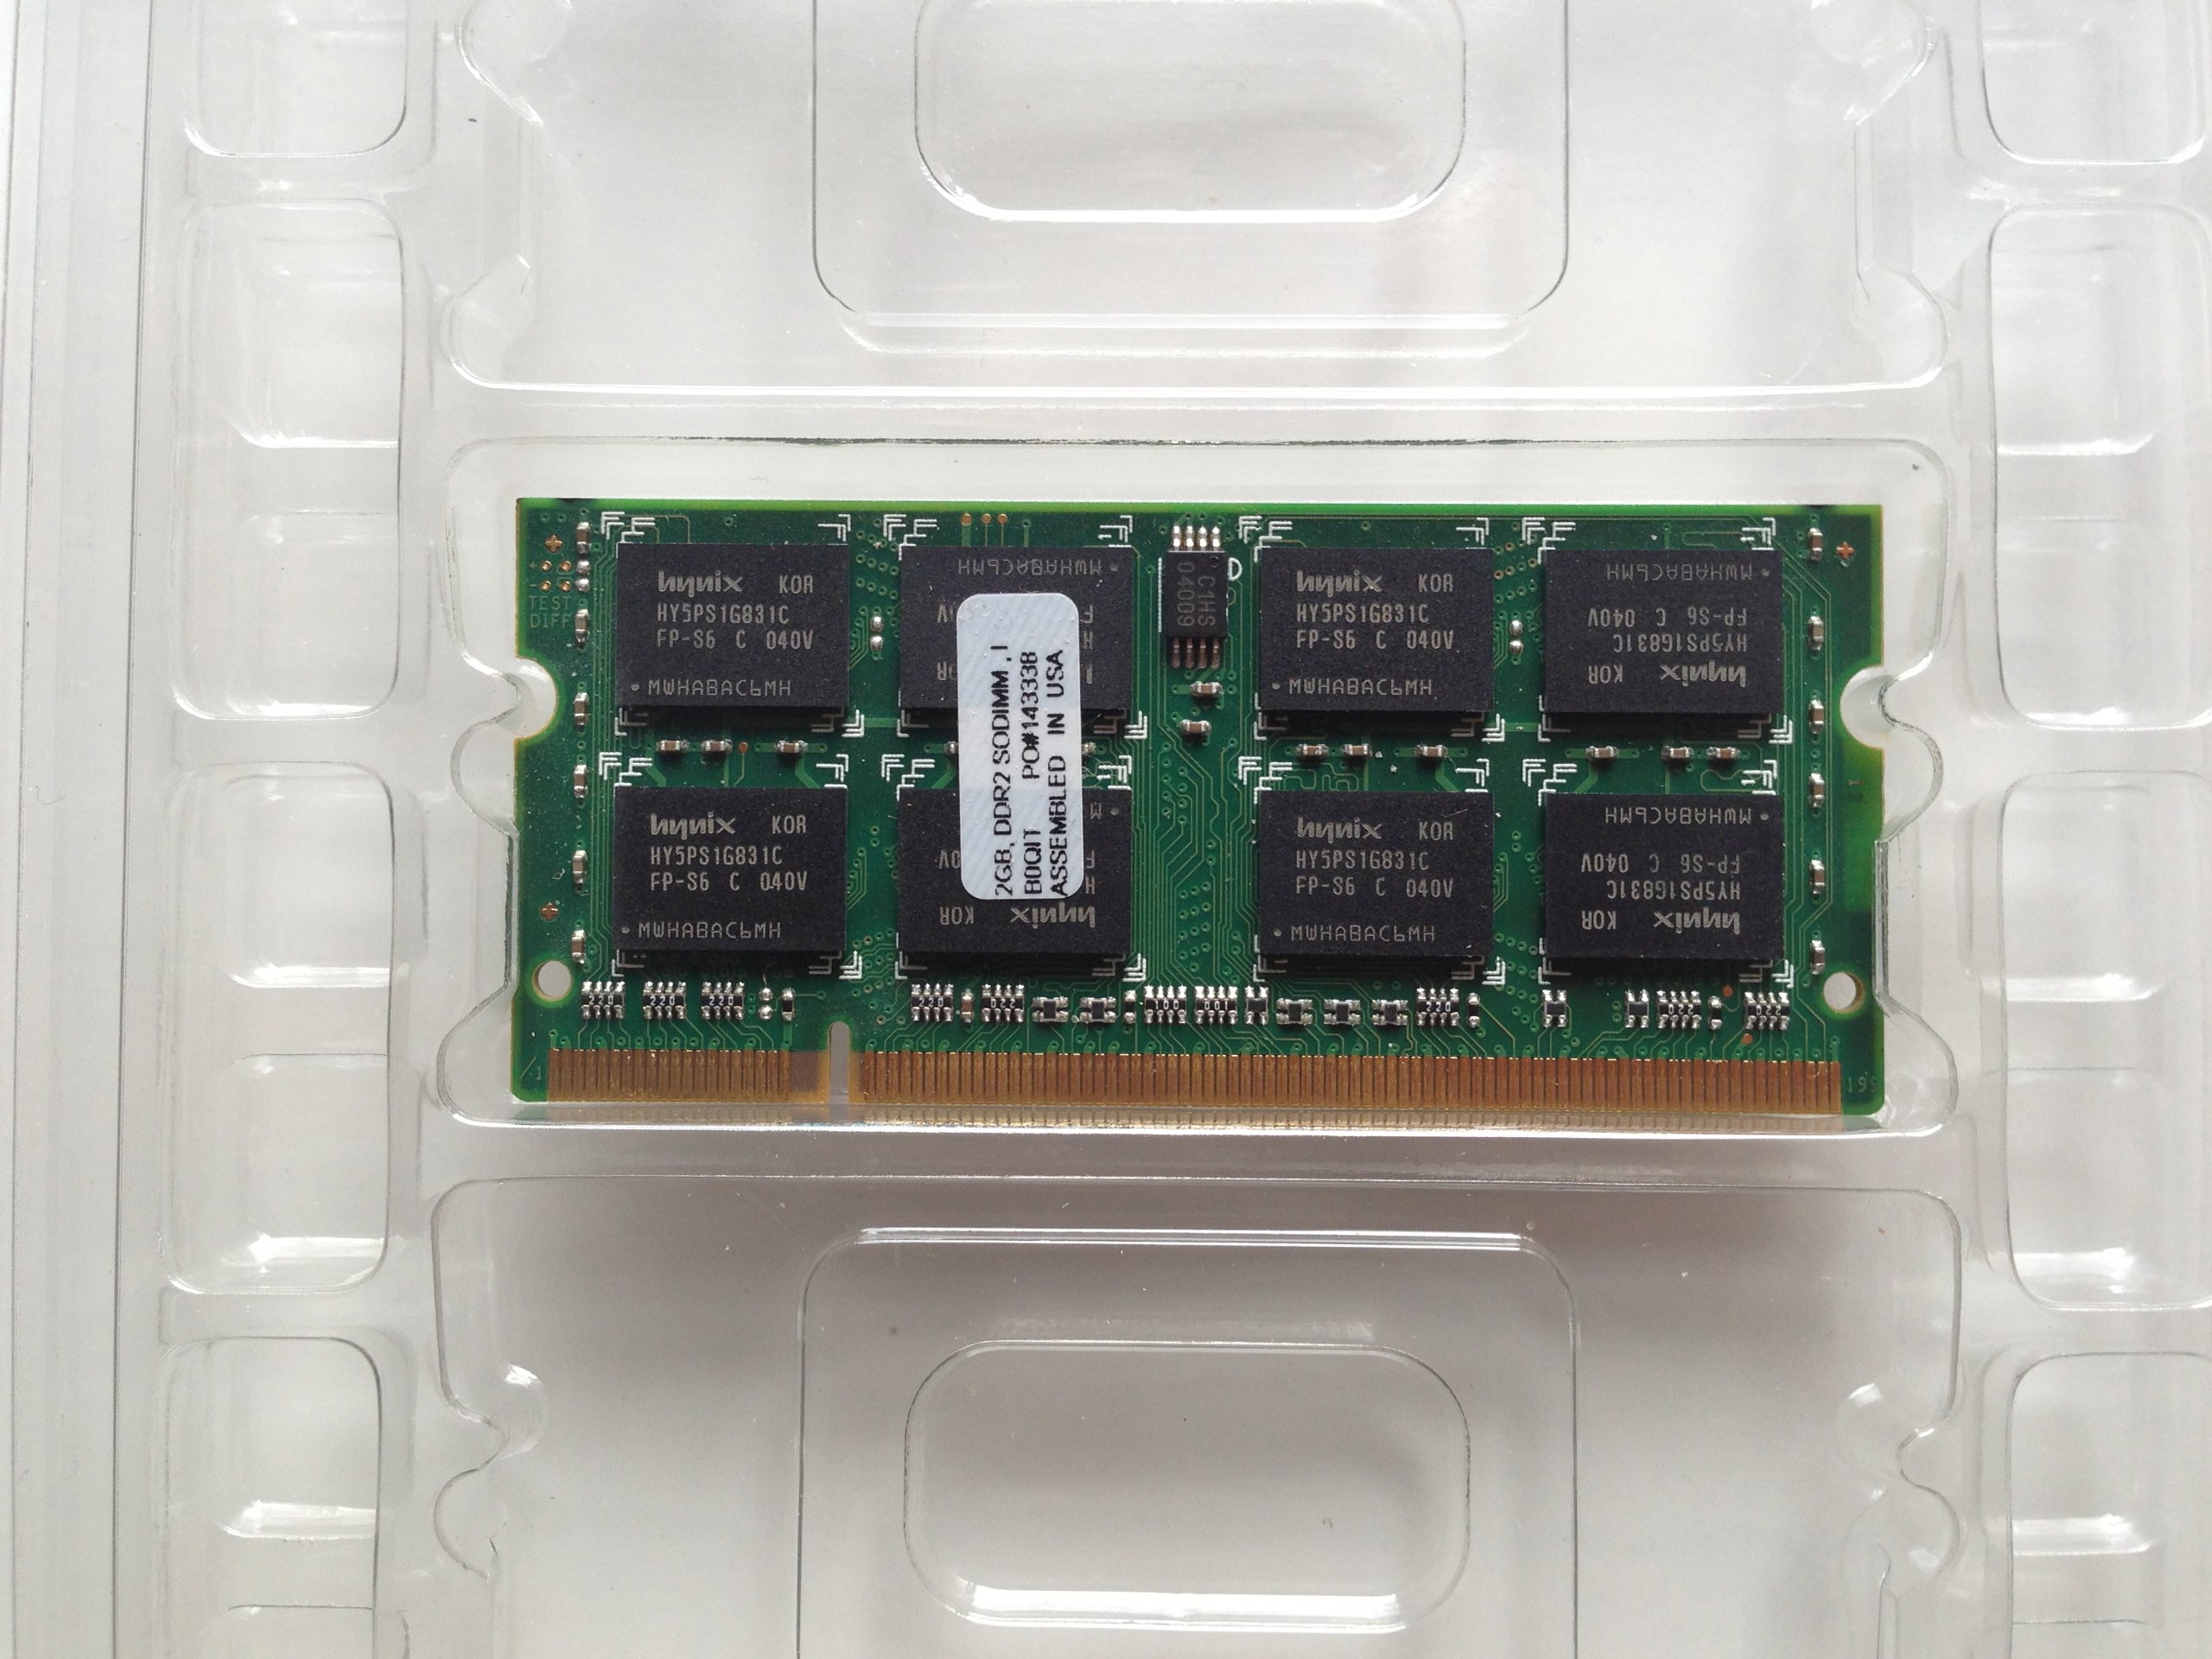
- Power off the laptop and remove the battery.
- Locate the memory module compartment, usually found on the bottom of the laptop.
- Carefully remove the memory modules from their slots.
- Check for any visible damage, such as corrosion or bent pins.
- Use a clean pencil eraser to gently clean the gold contacts on the memory modules.
- Reinsert the memory modules into their slots and make sure they are properly seated.
- Power on the laptop and run a memory test using a program like Memtest86.
- If the memory test fails, consider replacing the faulty memory module.
Examine and Troubleshoot Motherboard Issues
Next, check the BIOS settings to ensure they are configured correctly. Incorrect BIOS settings can cause the laptop to behave erratically. If necessary, reset the BIOS to its default settings to see if that resolves the issue.
If the laptop is experiencing issues during the boot process, it could be due to a faulty expansion card or a short circuit. Remove any unnecessary expansion cards and peripherals, then attempt to boot the laptop again to see if the problem persists.
Additionally, ensure that the laptop’s cooling system is functioning properly. Overheating can cause the laptop to shut down unexpectedly. Clean the cooling system and ensure that the vents are clear of dust and debris.
If the issue persists, it may be necessary to seek professional assistance to diagnose and repair the motherboard problem. It’s important to address these issues promptly to prevent further damage to the laptop’s hardware.
Update Drivers, BIOS, and Perform System Repairs
| Step | Description |
|---|---|
| 1. Update Drivers | Ensure all drivers are up to date to prevent system instability. |
| 2. Update BIOS | Check for BIOS updates and install them to improve system stability. |
| 3. Perform System Repairs | Run system repair tools to identify and fix any underlying issues with the operating system. |