Are you having issues with File Explorer on your Windows 10 computer? Don’t worry, we’ve got you covered. In this article, we’ll show you how to fix common problems and get File Explorer running smoothly again.
Understanding File Explorer in Windows 10
To fix File Explorer problems, users can try a number of solutions. One method is to clear the cache and history of the File Explorer. Another is to check for malware or viruses using an Antivirus program. Users can also try changing the display settings or using the Command Prompt to fix issues with the system drive.
If the issue persists, users can try restarting the PC or using Task Manager to end the Explorer process. Other fixes include checking for software bugs or system updates, and trying different options in the File Explorer search bar.
Restarting File Explorer in Task Manager
If you’re experiencing File Explorer issues, restarting it in Task Manager might help resolve the problem. Here’s how:
1. Press Ctrl + Shift + Esc on your keyboard to open Task Manager.
2. Click on the Details tab and look for explorer.exe.
3. Right-click on explorer.exe and select End task.
4. Click on File at the top of the Task Manager window and select Run new task.
5. Type explorer into the Open field and click OK.
This should restart File Explorer and hopefully fix the issue you were experiencing. If not, there are other methods and solutions you can try, such as clearing the cache or disabling your antivirus temporarily. Remember to always consider the possible causes and factors that may be contributing to the problem before trying any fixes.
Manually Restarting Explorer.exe with Command Prompt
If you’re experiencing issues with File Explorer on your Windows 10 PC, manually restarting explorer.exe may solve the problem. Here are the steps to follow:
1. Press Ctrl + Shift + Esc to open the Task Manager.
2. Click on the File menu and select Run new task.
3. Type cmd and check the box that says Create this task with administrative privileges.
4. Click OK.
5. In the Command Prompt window, type taskkill /f /im explorer.exe and press Enter.
6. Type explorer.exe and press Enter.
7. Close the Command Prompt window.
This will restart the explorer.exe process and hopefully resolve any File Explorer issues you were experiencing. Keep in mind that there may be other causes for File Explorer errors, such as malware or a software bug. If the problem persists, try other ways to troubleshoot or seek tech support.
Running System File Checker Scan
To fix File Explorer problems in Windows 10, you can run a System File Checker scan. This is a tool that checks the integrity of system files on your computer and repairs any issues it finds. To run the scan, open the Command Prompt as an administrator and type “sfc /scannow” and press Enter. The scan may take some time to complete, but once finished, it will display any errors it found and fixed. This method can help fix issues such as File Explorer crashes, freezes, or not responding. Keep in mind that there may be other factors that cause File Explorer errors, such as software bugs or display settings. If the scan doesn’t resolve your issue, try exploring other options or seeking tech support.
Clearing File Explorer Cache and History
- Open File Explorer
- Click on the File Explorer icon on the taskbar or press Windows Key + E on your keyboard.
- Access Folder Options
- Click on the View tab.
- Click on the Options button.
- Select Clear File Explorer History
- Click on the Clear button under Clear File Explorer history.
- Check the boxes next to the types of data you want to clear, such as History, Cookies, and Cache.
- Click on the Clear button.
- Reset Folder Options
- Click on the View tab.
- Click on the Options button.
- Click on the Reset Folders button under the View tab.
- Click on the Apply to Folders button.
- Click on the OK button.
Changing Display Settings
To change the display settings in Windows 10’s File Explorer, follow these steps:
1. Open File Explorer and go to the “View” tab.
2. Click on “Options” and then “Change folder and search options.”
3. In the “View” tab, under “Folder views,” select “Apply to folders.”
4. Click “OK” to save your changes.
If your File Explorer is still experiencing problems, there may be another underlying cause, such as a software bug or a system drive crash. Some ways to fix these issues include updating your operating system, running a virus scan, and checking for any corrupt files on your hard drive.
A helpful tip is to use the Windows Explorer search bar to quickly access files, as well as the Quick Access feature to easily open frequently used folders. If your File Explorer freezes or keeps freezing, try restarting your computer or performing a clean boot to isolate any conflicting programs.
Remember, if you’re still having trouble with File Explorer, there are many tutorials and resources available online to help you troubleshoot the problem.
Extending System Partition
| Extending System Partition |
|---|
|
One common cause of File Explorer problems in Windows 10 is a system partition that is running out of space. To fix this issue, you may need to extend the system partition to free up more space for your files and folders. Steps to Extend System Partition:
|

Creating a New User Account
To create a new user account in Windows 10, follow these steps:
1. Open the Start menu and click on “Settings”.
2. Click on “Accounts”.
3. Click on “Family & other users”.
4. Click on “Add someone else to this PC”.
5. Enter the email address of the person you want to add, or click on “I don’t have this person’s sign-in information” to create a new account.
6. Follow the prompts to set up the new account.
Creating a new user account can be helpful if you’re experiencing issues with File Explorer or any other part of the operating system. It allows you to troubleshoot problems without affecting other users on the computer. This tip is just one of many in our tutorial on how to fix File Explorer problems in Windows 10. If your File Explorer keeps freezing or crashing, or if you cannot open it at all, be sure to check out the rest of our article for more solutions.
Updating Windows 10 to the Latest Version
To fix File Explorer problems on Windows 10, it’s important to ensure that you are running the latest version of the operating system. To update to the latest version, follow these steps:
1. Click on the Start menu and select “Settings.”
2. Click on “Update & Security.”
3. Click on “Windows Update.”
4. Click on “Check for updates.”
5. If updates are available, click on “Download and install” to start the update process.
Updating to the latest version of Windows 10 can help resolve issues with File Explorer, including crashes, freezes, and problems opening files. Additionally, be sure to regularly check for updates to keep your operating system running smoothly. If you continue to experience issues, consider seeking out a tutorial or contacting technical support for further assistance.
Restoring Windows 10 to an Earlier Date
To restore your Windows 10 to an earlier date, follow these steps. First, open the Start menu and type “System Restore” into the search bar. Select “Create a restore point” from the list of results. In the System Properties window, click on the “System Protection” tab. Click the “System Restore” button and select the restore point you want to use. Click “Next” and then “Finish” to begin the restore process. This will restore your operating system to the state it was in on the selected date. This can be useful if your Windows Explorer or File Explorer is not responding, if your computer has crashed, or if you are experiencing other issues with your hard drive or operating system. Keep in mind that this process will not affect your personal files, but it may uninstall some programs and updates.
Checking for Malware and Memory Problems
- Perform a malware scan
- Open Windows Security by clicking the Start button and selecting the gear icon, then select Update & Security > Windows Security
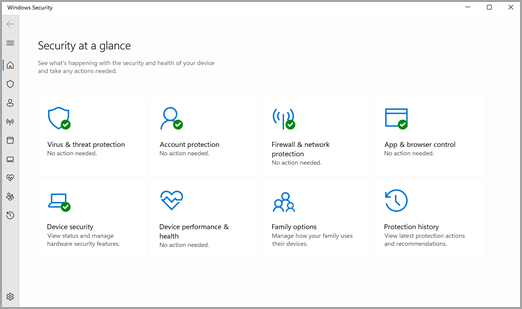
- Select Virus & threat protection
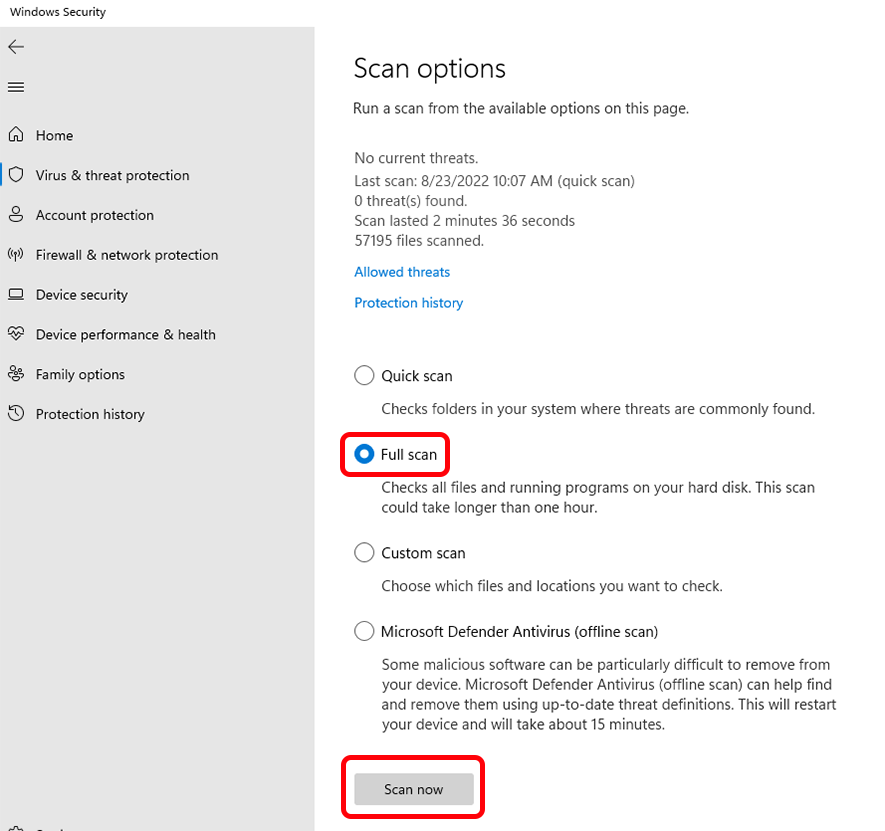
- Select Scan options
- Select the Full scan option and click Scan now
- Follow the on-screen instructions to complete the scan
- Check for memory problems
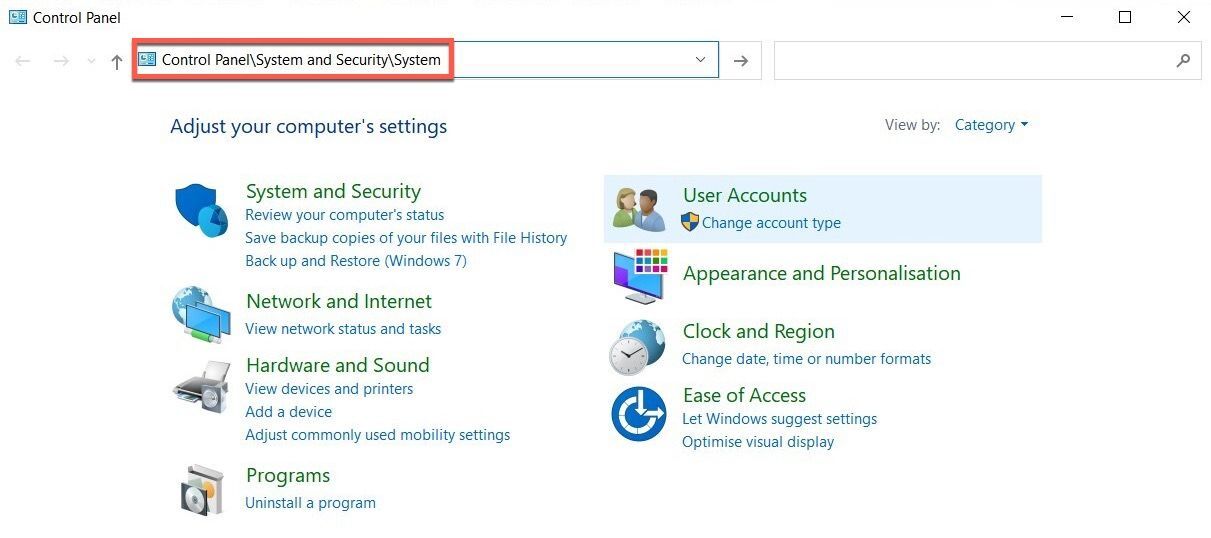
- Open Control Panel
- Select System and Security
- Select Administrative Tools
- Select Windows Memory Diagnostic
- Select Restart now and check for problems (recommended)
- Wait for the scan to complete and follow the on-screen instructions

Disabling Quick Access Privacy Options
To disable Quick Access privacy options in Windows 10, follow these steps.
1. Open File Explorer by pressing Windows Key + E simultaneously.
2. Click on View tab at the top of the window.
3. Click on Options button to open Folder Options.
4. In the General tab, you will see Privacy section.
5. Uncheck the two boxes under Privacy, namely “Show recently used files in Quick access” and “Show frequently used folders in Quick access”.
6. Click on Apply and then click on OK.
7. Close File Explorer.
Now, Quick Access will not show your recent or frequently used files or folders. This can help fix issues like Explorer freezes or crashes when opening File Explorer. Remember, this steps are specific to Windows 10, and the process may differ for other operating systems or file manager applications.
Optimizing Advanced System Settings
To optimize advanced system settings in Windows 10 and fix file explorer problems, you can start by checking the file manager application settings. Make sure that the default file manager is set to File Explorer. You can also increase the number of recent files shown in the Quick Access menu. If File Explorer keeps crashing, try resetting the app in the Windows 10 Settings.
Another way to optimize advanced system settings is by disabling unused features like Windows Search. This can help improve the performance of your operating system. To do this, go to the Windows Features section in the Control Panel and uncheck the Windows Search option. If File Explorer is not responding, restart the explorer.exe process by opening the Task Manager and selecting the Windows Explorer process. Finally, if you cannot open File Explorer or Internet Explorer, try running a system file check using the command prompt.
By optimizing advanced system settings in Windows 10, you can fix File Explorer problems and improve the performance of your operating system.
Unlinking OneDrive and Reinstalling Graphics Card Driver
Unlinking OneDrive: If you’re experiencing file explorer problems in Windows 10, one solution is to unlink OneDrive from your computer. To do this, right-click on the OneDrive icon in the system tray and select “Settings.” Then, go to the “Account” tab and click “Unlink this PC.” This will disconnect your computer from OneDrive and may help resolve any issues you’re experiencing.
Reinstalling Graphics Card Driver: Another solution is to reinstall your graphics card driver. To do this, press the Windows key + X and select “Device Manager.” Expand the “Display Adapters” category and right-click on your graphics card. Select “Uninstall device” and then restart your computer. Windows will automatically reinstall the driver upon startup.
Remember, file explorer problems can be caused by a variety of issues, including operating system glitches and crashes. If these solutions don’t work, consider seeking additional help or using a different file manager application, such as Internet Explorer.
Performing Search and Indexing Troubleshooter
Performing a search and indexing troubleshooter can help fix file explorer problems in Windows 10. Start by pressing the Windows key + R and typing “services.msc” in the Run dialog box. Locate the “Windows Search” service and right-click on it, then select “Properties“. Set the “Startup type” to “Automatic” and click “OK“. Next, press the Windows key + X and select “Command Prompt (Admin)“. Type “sfc /scannow” and press Enter to scan and repair any corrupt system files. Finally, restart the “Windows Search” service by right-clicking on it and selecting “Restart“. These steps should resolve any issues with file explorer not responding or crashing due to problems with search and indexing in Windows 10.