Welcome to the ultimate guide on resolving the frustrating issue of being unable to delete files from your SD card. Whether you’re dealing with stubborn files or encountering mysterious errors, this article will provide you with a comprehensive set of solutions to tackle the problem head-on. So, let’s dive into the world of SD card troubleshooting and bid farewell to those pesky undeletable files!
Reasons for Unable to Delete Files from SD Card
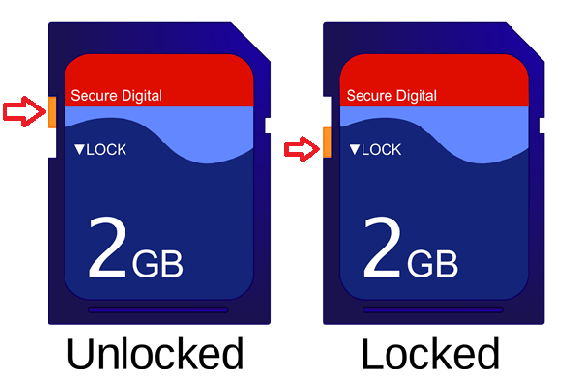
1. Write-protection mode: The SD card may be locked in write-protection mode, preventing any changes. Check the physical lock switch on the side of the card and make sure it is in the unlocked position.
2. File or partition corruption: If the file or partition on the SD card is corrupted, it can cause deletion issues. Use disk management tools like MiniTool Partition Wizard to check and repair any errors.
3. Insufficient space: If the SD card is full or doesn’t have enough free space, it may not allow you to delete files. Delete unnecessary data or format the card to free up space.
4. Connection issues: Poor connection between the SD card and the computer or phone can lead to deletion problems. Try using a different card reader or connecting the SD card to another device.
5. Software conflicts: Certain programs running on your PC may be interfering with the deletion process. Close any programs that may have the SD card in use and try deleting the files again.
Remember to always back up important data before attempting any troubleshooting methods. If the issue persists, seek help from online communities and forums like Reddit or Samsung communities, where users may have encountered similar problems and found solutions.
Methods to Solve “Cannot Delete Files from SD Card” Issue
- Ensure that the write protection switch on the SD card is in the unlocked position
- If the switch is locked, slide it to the unlocked position
Repair Method 2: Change File Attributes
- Insert the SD card into a computer or card reader
- Open the “File Explorer” or “My Computer” on the computer
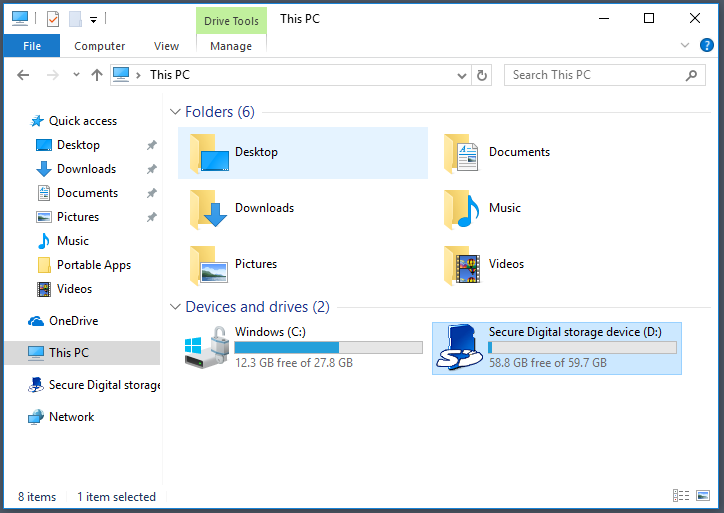
- Locate the SD card and right-click on it
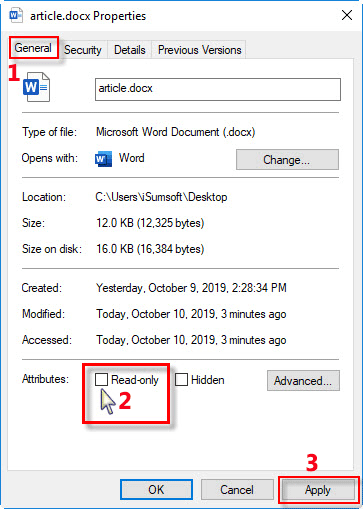
- Select “Properties” from the drop-down menu
- Under the “General” tab, uncheck the “Read-only” box
- Click “Apply” and then “OK” to save the changes
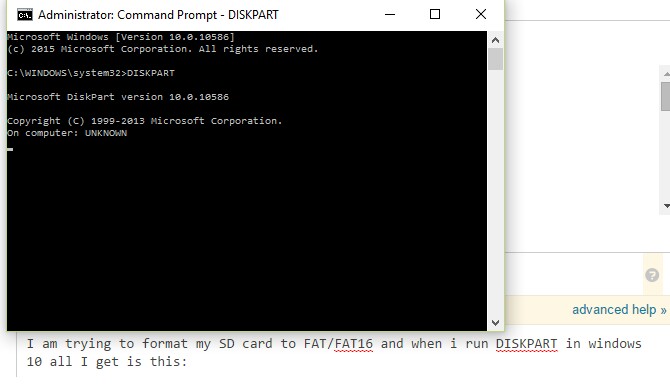
Repair Method 3: Use Command Prompt
- Connect the SD card to a computer
- Press “Windows + R” to open the Run dialog box
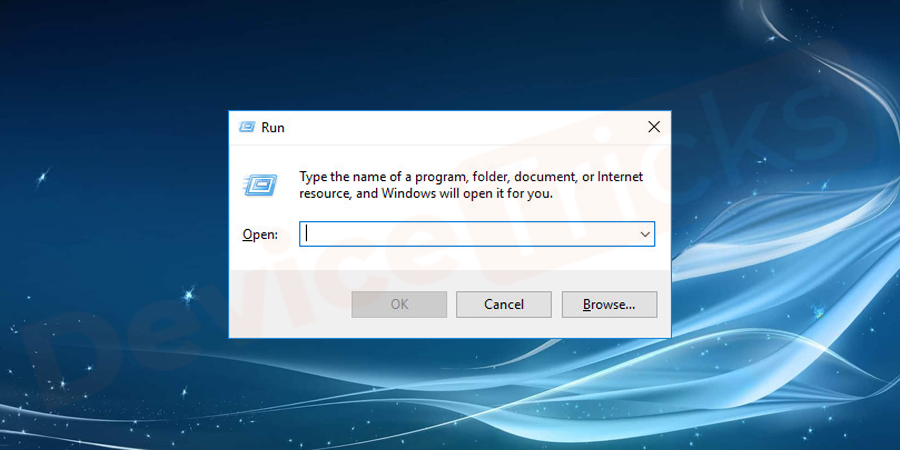
- Type “cmd” and press “Enter” to open the Command Prompt
- Type “diskpart” and press “Enter” to open the DiskPart utility
- Type “list disk” and press “Enter” to display a list of available disks
- Identify the disk number associated with the SD card
- Type “select disk [disk number]” and press “Enter” (replace [disk number] with the actual disk number)
- Type “attributes disk clear readonly” and press “Enter” to remove the read-only attribute
- Exit the Command Prompt by typing “exit” and pressing “Enter”
Repair Method 4: Format the SD Card
- Insert the SD card into a computer or card reader
- Open the “File Explorer” or “My Computer” on the computer
- Locate the SD card and right-click on it
- Select “Format” from the drop-down menu
- Choose the desired file system (e.g., FAT32) and allocation unit size
- Check the “Quick Format” option
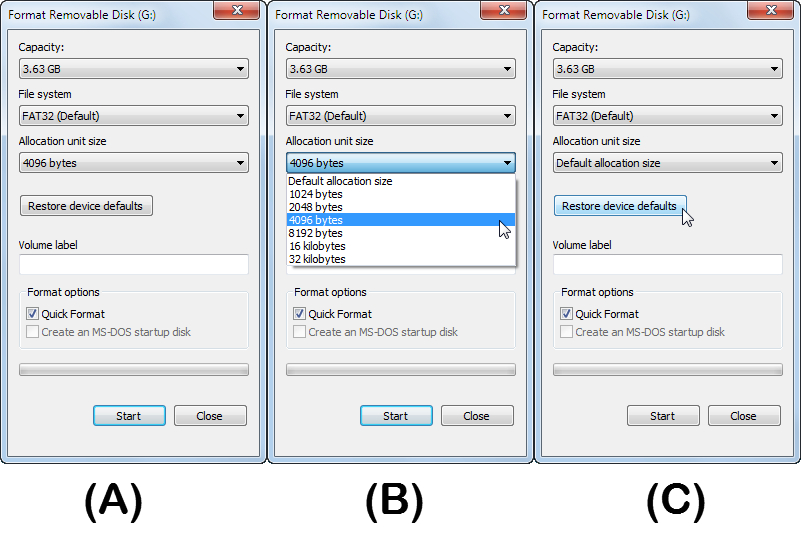
- Click “Start” to begin the formatting process
- Wait for the formatting to complete
Check Write Protection and Remove Readonly Attributes
To check write protection and remove readonly attributes from your SD card, follow these steps:
1. Insert your SD card into your PC’s card reader.
2. Open File Explorer and locate your SD card under “This PC” or “My Computer.”
3. Right-click on the SD card and select “Properties.”
4. In the Properties window, navigate to the “General” tab and make sure the “Read-only” box is unchecked. If it’s checked, uncheck it and click “Apply.”
5. If the above step didn’t work, try removing write protection using the Command Prompt (CMD). Press Win + R, type “cmd,” and hit Enter.
6. In the Command Prompt, type diskpart and hit Enter.
7. Type list disk to see a list of all the connected storage media.
8. Identify your SD card’s disk number and type select disk [disk number] (replace [disk number] with the actual number).
9. Type attributes disk clear readonly and hit Enter to remove write protection.
10. Close the Command Prompt and try deleting files from your SD card now. If the issue persists, try formatting the SD card.
Remember to back up your data before attempting any troubleshooting methods. If you still can’t delete files from your SD card, seek further assistance from relevant forums or contact the manufacturer.
java

import java.io.File;
public class FileDeletionExample {
public static void main(String[] args) {
String filePath = "/sdcard/example.txt"; // Example file path on SD card
// Create a file object
File file = new File(filePath);
// Check if the file exists
if (file.exists()) {
// Attempt to delete the file
boolean isDeleted = file.delete();
// Check if the file was successfully deleted
if (isDeleted) {
System.out.println("File deleted successfully.");
} else {
System.out.println("Failed to delete the file.");
}
} else {
System.out.println("File does not exist.");
}
}
}
Note: The code above assumes that the file path provided is accessible, and the necessary permissions are granted in the AndroidManifest.xml file. However, it’s important to remember that this code deals with files within the application’s private storage, not directly on the SD card.
Change Value Data in Registry Editor
To change the value data in Registry Editor for fixing the issue of being unable to delete files from an SD card, follow these steps:
1. Press the Windows key + R to open the Run dialog box.
2. Type “regedit” and press Enter to open Registry Editor.
3. Navigate to the following path: HKEY_LOCAL_MACHINE\SYSTEM\CurrentControlSet\Control\StorageDevicePolicies
4. In the right pane, double-click on the “WriteProtect” value.
5. Change the value data from “1” to “0” and click OK.
6. Close Registry Editor and restart your computer.
This method has been proven to resolve the issue for many users, according to user reports on forums like Reddit and Windows forums. If you’re still experiencing difficulties, there may be other reasons for the problem, such as a corrupted file system or a malfunctioning SD card. In such cases, you can try using third-party software like MiniTool Partition Wizard or seek professional assistance. Remember to always back up your data before attempting any fixes.
Disable Write Protection via Group Policy Editor
To disable write protection on an SD card using Group Policy Editor, follow these steps:
1. Press the Windows key + R to open the Run dialog box.
2. Type “gpedit.msc” and press Enter to open Group Policy Editor.
3. In the left pane, navigate to “Computer Configuration” > “Administrative Templates” > “System” > “Removable Storage Access.”
4. In the right pane, double-click on “All Removable Storage Classes: Deny All Access.”
5. Select the “Disabled” option and click on “OK.”
6. Close Group Policy Editor and restart your computer.
By following these steps, you should be able to disable write protection on your SD card, allowing you to delete files and make changes as needed.
Remember, if you encounter any issues or have any further questions, consult the Ultimate Guide to Fixing SD Card Errors for more detailed instructions.
Run CHKDSK to Check and Fix SD Card Errors
To fix SD card errors and allow for file deletion, running CHKDSK is often the solution. Here’s how to do it:
1. Connect your SD card to your computer using a card reader.
2. Press the Windows key + R to open the Run dialog box.
3. Type “cmd” and press Enter to open the Command Prompt.
4. In the Command Prompt, type “chkdsk [drive letter]: /f” and press Enter. Replace “[drive letter]” with the corresponding letter of your SD card (e.g., “chkdsk E: /f”).
5. Wait for CHKDSK to scan and fix any errors on the SD card.
6. Once the process is complete, close the Command Prompt and safely remove the SD card from your computer.
This method should resolve most SD card errors and allow you to delete files as needed. If the issue persists, further troubleshooting may be required.
Backup Files and Format SD Card
To backup files and format an SD card, follow these steps:
1. Connect the SD card to your computer using a card reader.
2. Open File Explorer and locate the SD card.
3. Copy all the files from the SD card to a safe location on your computer to create a backup.
4. Once the files are backed up, right-click on the SD card and select “Format”.
5. In the Format window, choose the desired file system (FAT32 or exFAT) and allocation unit size.
6. Check the “Quick Format” option to speed up the process.
7. Click “Start” to begin the formatting process. Note that this will erase all data on the SD card, so make sure you have a backup.
8. Once the format is complete, you can safely remove the SD card from your computer.
Remember to always backup your files before formatting to avoid any data loss.
Unlock SD Card and Check for Errors
To unlock an SD card and check for errors, follow these steps:
1. Insert your SD card into your computer or device.
2. Open “File Explorer” or “My Computer” and locate your SD card under “Devices and Drives.”
3. Right-click on your SD card and select “Properties.”
4. In the Properties window, go to the “General” tab and make sure the “Read-only” checkbox is unchecked. If it is checked, uncheck it and click “Apply” to unlock the SD card.
5. Next, check for errors on the SD card. Go to the “Tools” tab and click on “Check” under the “Error-checking” section.
6. A new window will open. Select “Scan and repair drive” to let Windows scan and fix any errors on the SD card.
7. Once the scan is complete, close the window and safely eject your SD card.
These steps should help you unlock your SD card and resolve any errors that may be preventing you from deleting files.
Update SD Card Driver and Format SD Card
To update the SD card driver and format the SD card, follow these steps:
1. Connect the SD card to your computer using a card reader.
2. Open Device Manager by pressing Windows key + X and selecting Device Manager.
3. Expand the “Disk drives” category and locate your SD card.
4. Right-click on the SD card and select “Update driver.”
5. Choose the option to search automatically for updated driver software.
6. If an update is found, follow the on-screen instructions to install it.
7. Once the driver is updated, open Disk Management by right-clicking on the Start button and selecting “Disk Management.”
8. Find your SD card in the list of drives and right-click on it.
9. Select “Format” and choose the file system and allocation unit size.
10. Click “OK” to start the formatting process, which will delete all data on the SD card.
Note: Make sure to backup any important files before formatting the SD card.
