Struggling with the “No Audio Output Device Is Installed” issue on Windows 7? This article provides a free download fix to help resolve the problem.
Understanding the Audio Output Device Error
When encountering the “No Audio Output Device Is Installed” error on Windows 7, it can be frustrating and confusing. This error typically means that your computer is unable to detect or communicate with the audio output device, resulting in no sound being produced.
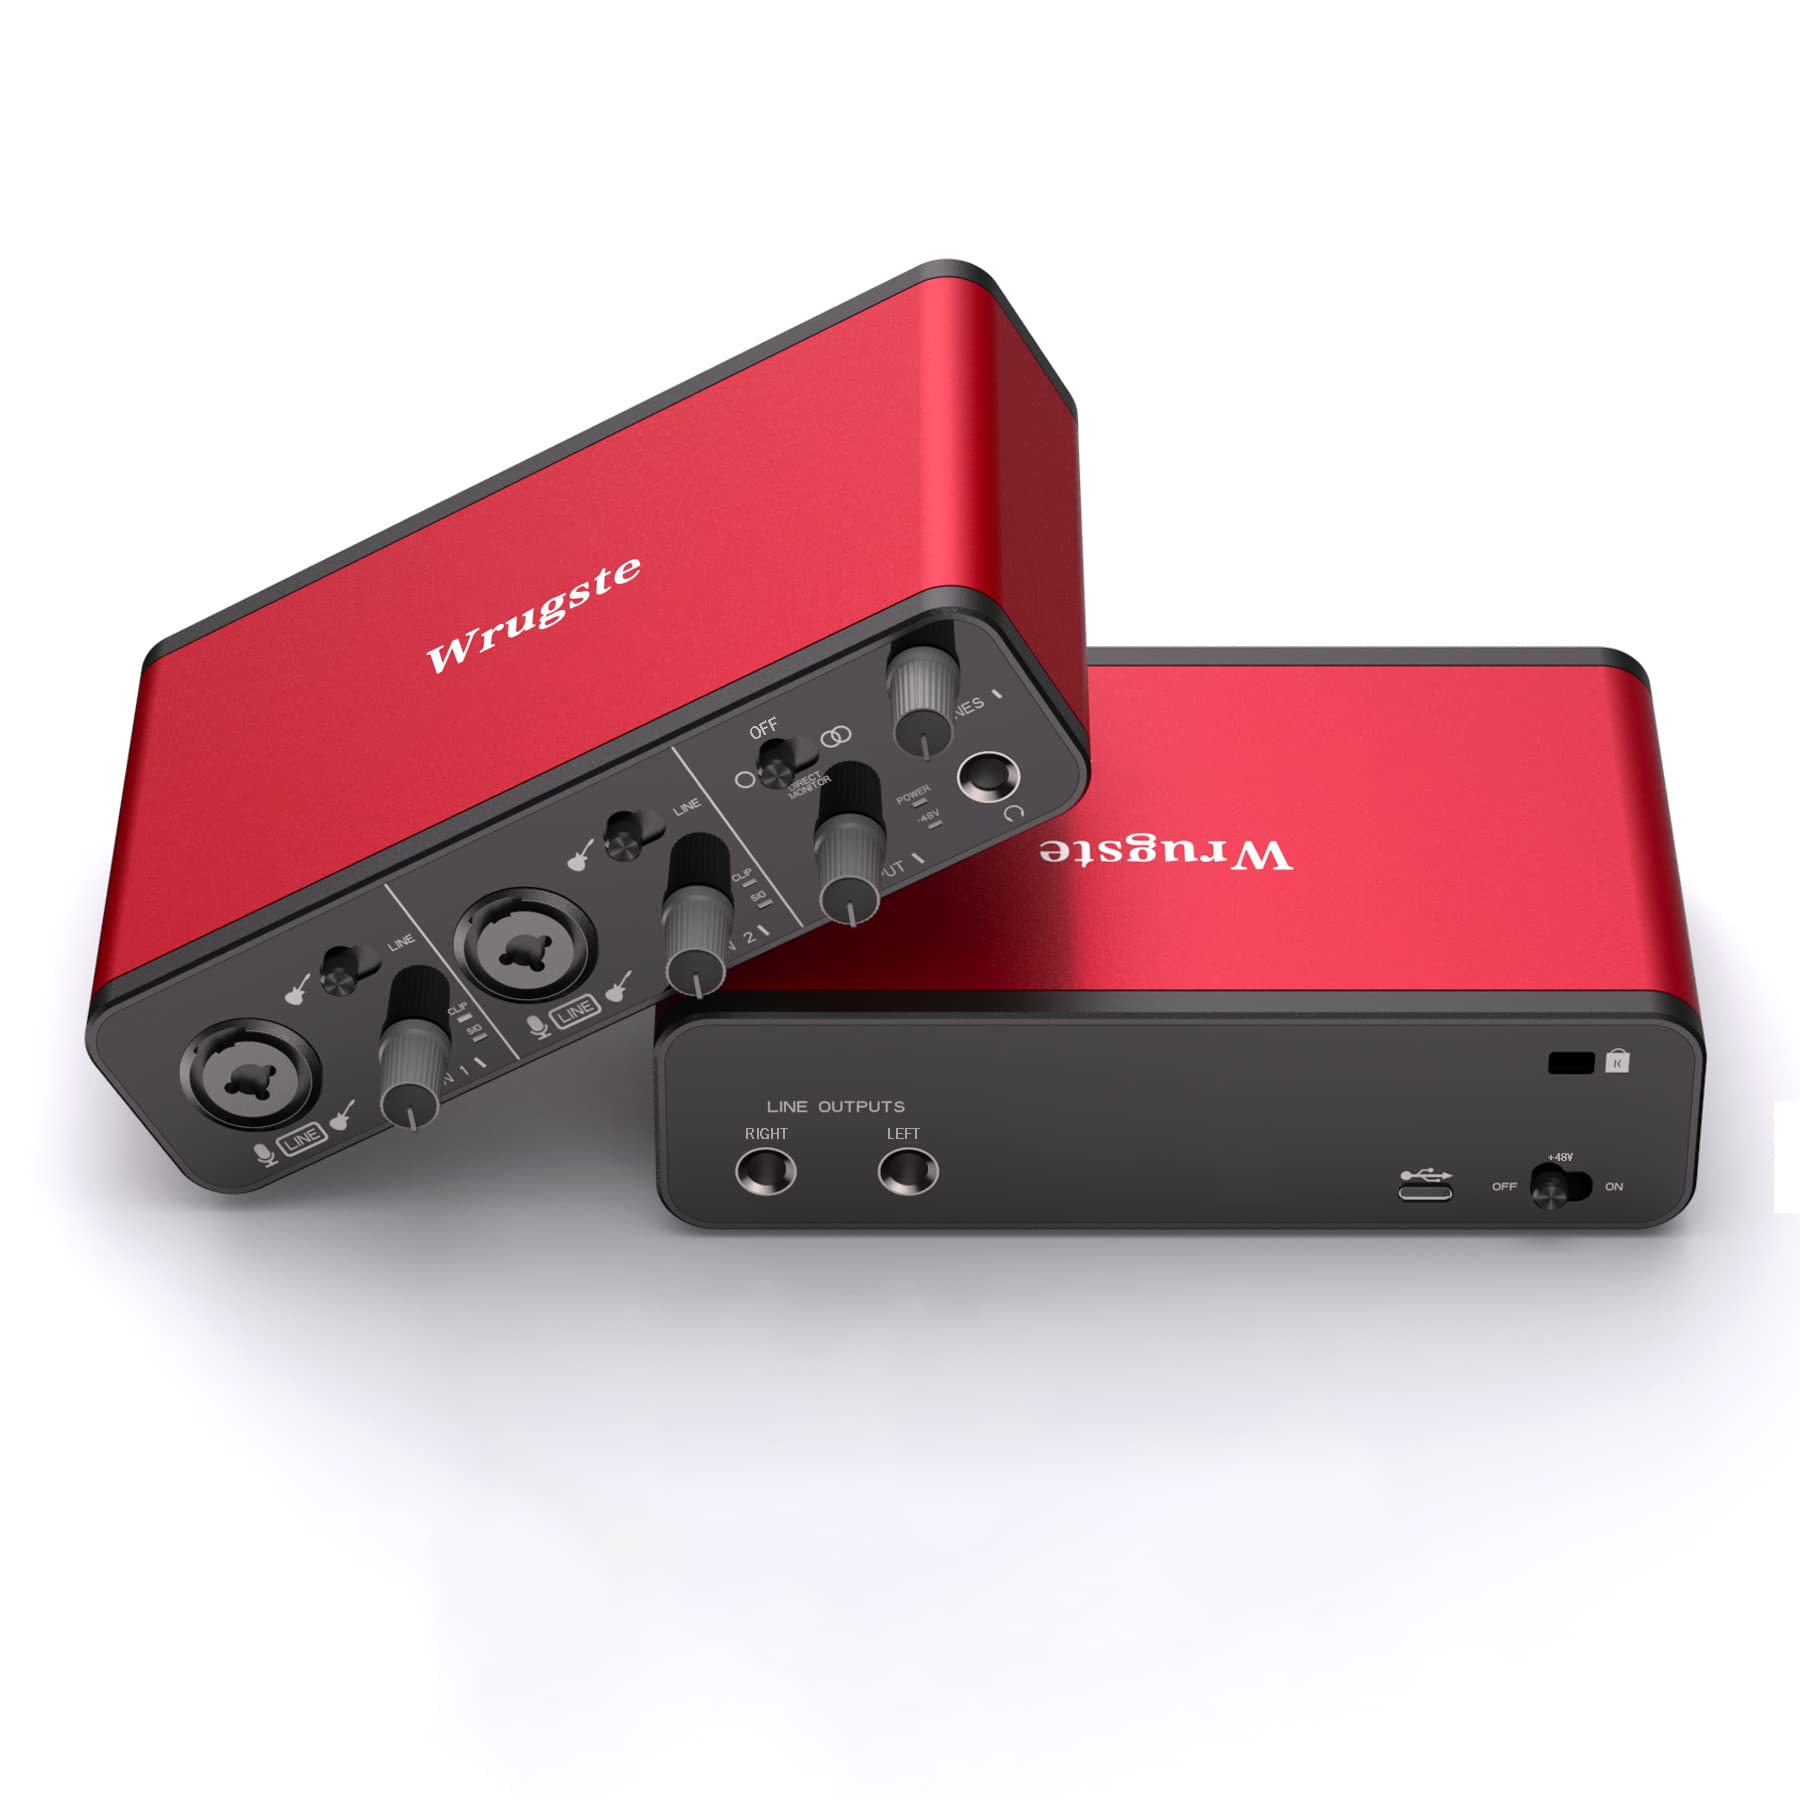
To resolve this issue, start by checking the physical connections of your audio output device, such as speakers or headphones, to ensure they are properly plugged in and powered on. If the connections are secure and the device is functioning, the issue may lie with the device driver.
To address this, navigate to the Device Manager by right-clicking on the Start button and selecting it from the context menu. Look for the audio output device under the “Sound, video and game controllers” section. If there is a yellow exclamation mark next to it, the driver may be corrupted or missing.
In this case, you can try updating the driver by right-clicking on the device and selecting Update driver. If this does not resolve the issue, you may need to uninstall the driver and then download and install the latest driver from the manufacturer’s website.
If the problem persists after updating or reinstalling the driver, it may be necessary to troubleshoot further by checking for Windows updates, running the DirectX Diagnostic Tool, or seeking help from a professional.
Automatically Updating Audio Drivers
To automatically update your audio drivers in Windows 7, you can use the Device Manager. First, right-click on the “Computer” icon on your desktop or in the Start menu and select “Manage. ” In the Computer Management window, click on “Device Manager” in the left-hand panel. Find and expand the “Sound, video and game controllers” section. Right-click on your audio device and select “Update driver software. ” Choose “Search automatically for updated driver software” and follow the on-screen instructions to complete the process.
This should help fix any issues with your audio output device. If this doesn’t work, you can also visit the manufacturer’s website to download the latest drivers for your specific audio device.
Using the Audio Troubleshooter

- Open the Control Panel
- Click on the Start button and type “Control Panel” in the search bar.
- Select Control Panel from the search results.
- Click on Troubleshooting
- Once in the Control Panel, click on “Troubleshooting.”
- Click on Hardware and Sound
- Under the “Troubleshoot computer problems” section, click on “Hardware and Sound.”
- Click on Playing Audio
- Under the “Hardware and Sound” section, click on “Playing Audio.”
- Follow the prompts to run the troubleshooter
- Click on “Next” and follow the prompts to allow the troubleshooter to detect and fix any audio issues.
Manual Driver Reinstallation
To manually reinstall the driver for your audio output device in Windows 7, follow these steps:
1. First, right-click on the “Computer” icon on your desktop or in the Start menu, and select “Manage” from the context menu.
2. In the Computer Management window, click on “Device Manager” in the left-hand pane.
3. Locate and expand the “Sound, video and game controllers” category to see the list of audio devices installed on your PC.
4. Find the audio device that is showing the error “No audio output device is installed” and right-click on it.
5. Select “Uninstall” from the context menu to remove the driver from your system.
6. After uninstalling the driver, restart your computer.
7. Upon restarting, Windows 7 should automatically detect the missing driver and reinstall it. If it doesn’t, you can manually install the driver by right-clicking on the audio device in Device Manager and selecting “Update driver software.”
8. Choose the option to “Search automatically for updated driver software” and follow the on-screen instructions to complete the installation.
Checking for Windows Updates
To check for Windows updates on your Windows 7 computer, follow these steps:
1. Click on the Start button and then click on Control Panel.
2. In the Control Panel, click on System and Security.
3. Under Windows Update, click on Check for updates.
4. If there are updates available, click on Install updates to download and install them.
5. Once the updates are installed, restart your computer if prompted.
Checking for Windows updates regularly can help ensure that your computer is running smoothly and efficiently. It’s important to keep your system up to date to avoid potential issues with your audio output device and other components.
Re-enabling the Audio Device
To re-enable the audio device in Windows 7, first, go to the “Start” menu and type “Device Manager” into the search bar. Then, click on “Device Manager” to open it.
In the Device Manager window, look for the “Sound, video and game controllers” category and expand it by clicking on the arrow next to it. Find your audio device in the list, it may be labeled as “High Definition Audio Device” or something similar.
Right-click on the audio device and select “Enable” from the drop-down menu. This should re-enable the audio device on your Windows 7 PC.
If you’re still experiencing issues with your audio device, you may need to update the device driver. To do this, right-click on the audio device in Device Manager and select “Update driver.” Follow the on-screen instructions to complete the update.
After re-enabling or updating the audio device, restart your computer to apply the changes. This should resolve any issues with the audio output device not being installed on your Windows 7 PC.
Addressing External Device Connection Issues

If you are experiencing external device connection issues, such as no audio output device being installed on Windows 7, there are a few steps you can take to troubleshoot the problem. First, ensure that the device is properly connected to your computer. Check the cables and ports to make sure everything is securely in place.
If the device is properly connected and you are still experiencing issues, try updating the device drivers. Go to the Control Panel, navigate to the Device Manager, and locate the audio device. Right-click on it and select “Update Driver.” Follow the on-screen instructions to update the driver.
If updating the driver doesn’t resolve the issue, you can try uninstalling the device and then reinstalling it. Again, go to the Device Manager, right-click on the audio device, and select “Uninstall.” Once uninstalled, restart your computer and the device should reinstall automatically.
If none of these steps resolve the issue, there may be a problem with the device itself. Try connecting the device to a different computer to see if it works there. If it does, the issue may be with your computer’s hardware or software.
