In my experience, fixing 100% Windows 10 disk usage can be a frustrating task.
Restart Your Device
If you’re experiencing high disk usage on your Windows 10 device, a simple restart may help resolve the issue.
Restart your device by clicking on the Start menu, selecting the Power icon, and choosing Restart. This will refresh your system and potentially reduce disk usage caused by background processes or memory leaks.
If a restart doesn’t solve the problem, consider checking for Windows updates or running a scan with Microsoft Defender Antivirus to ensure your system is secure and up to date.
Remember to regularly update your device drivers and software to prevent any performance issues related to outdated programs or security vulnerabilities.
By taking these steps, you can effectively manage disk usage on your Windows 10 device and improve overall system performance.
Update Windows 10
Once you have updated Windows 10, you can check the Task Manager to see if the disk usage has decreased. To do this, right-click on the taskbar and select Task Manager. In the Task Manager window, go to the “Processes” tab and look for any processes that are using a high percentage of disk space.
If you notice any processes that are consuming a large amount of disk space, you can try ending those processes to see if it reduces the disk usage. To do this, right-click on the process and select End Task. Be cautious when ending processes, as some may be essential for the system to function properly.
Another way to fix Windows 10 disk usage issues is to check for any software updates that may be available. Sometimes outdated software can cause high disk usage. To check for updates, go to the Start menu and select Settings > Update & Security > Windows Update. Click on “Check for updates” to see if there are any available updates for your system.
In addition to updating Windows 10 and software, you can also try disabling unnecessary startup programs to reduce disk usage. To do this, right-click on the taskbar and select Task Manager. Go to the “Startup” tab and disable any programs that you do not need to start automatically when you boot up your computer.
If you have tried all of these steps and are still experiencing high disk usage on Windows 10, you may want to consider running a disk cleanup to free up space on your hard drive. To do this, go to the Start menu and search for “Disk Cleanup.” Select the drive you want to clean up and follow the on-screen instructions to remove temporary files and other unnecessary items.
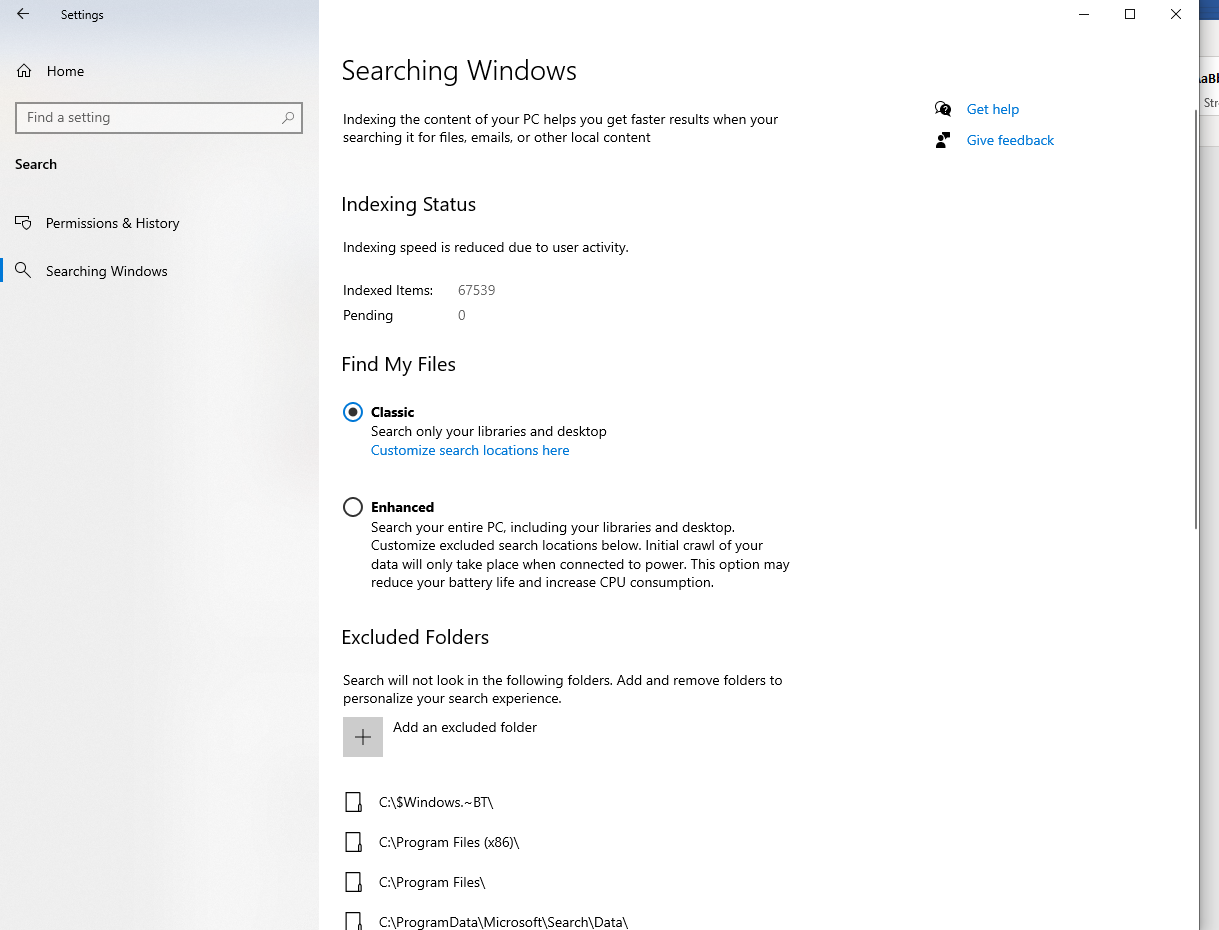
Disable Windows Search

1. Press Ctrl + Shift + Esc to open Task Manager.
2. Click on the Processes tab and look for Cortana or SearchUI.exe.
3. Right-click on the process and select End Task to stop it from running.
4. Open the Run dialog by pressing Win + R.
5. Type services.msc and hit Enter to open the Services window.
6. Look for Windows Search in the list of services.
7. Right-click on it and select Properties.
8. Change the Startup type to Disabled.
9. Click Apply and then OK to save the changes.
10. Restart your computer for the changes to take effect.
Check for Viruses and Malware
![]()
- Run a full system scan with Windows Defender or another reputable antivirus program
- Download and run a malware removal tool such as Malwarebytes
- Update your antivirus software to ensure it has the latest virus definitions
- Check for suspicious files or programs in the Task Manager
- Scan external devices such as USB drives before connecting them to your computer
Stop the Superfetch Service
Step 1: Press Ctrl + Shift + Esc to open Task Manager.
Step 2: In the Task Manager window, click on the “Services” tab.
Step 3: Scroll down and find the “SysMain” service, which is the new name for Superfetch.
Step 4: Right-click on “SysMain” and select “Stop” from the context menu.
Step 5: Confirm your action if prompted.
Step 6: Close Task Manager and check if the disk usage has decreased.
Stopping the Superfetch service can help reduce disk usage on Windows 10 and improve system performance. If you continue to experience high disk usage, consider troubleshooting other potential causes such as malware infections, outdated drivers, or background processes consuming resources.
Change Energy Options

1. Open the Start menu and type “Control Panel” to access the Control Panel.
2. Click on “Hardware and Sound” and then “Power Options.”
3. Select the power plan you are currently using and click on “Change plan settings.”
4. Click on “Change advanced power settings.”
5. Expand the “Hard disk” option and set both “Turn off hard disk after” options to a higher value, such as 0 or 9999 minutes.
6. Click “Apply” and then “OK” to save the changes.
7. Restart your computer to apply the new energy options.
These steps will help optimize your disk usage by adjusting the power settings on your Windows 10 system.
Reset Virtual Memory
Step 1: Open the Control Panel by searching for it in the Windows search bar.
Step 2: Click on “System and Security” and then “System.”
Step 3: In the left-hand menu, click on “Advanced system settings.”
Step 4: Under the “Advanced” tab, click on “Settings” under the “Performance” section.
Step 5: Go to the “Advanced” tab in the new window and click on “Change” under the “Virtual memory” section.
Step 6: Uncheck the box that says “Automatically manage paging file size for all drives.”
Step 7: Select the drive where Windows is installed and choose “Custom size.”
Step 8: Set the initial size and maximum size to the recommended value.
Step 9: Click “Set” and then “OK” to save the changes.
Step 10: Restart your computer to apply the new virtual memory settings.
By resetting the virtual memory on Windows 10, you can potentially fix disk usage issues and improve the overall performance of your system.
Check for Disk Errors
Once the Command Prompt window is open, type in the command chkdsk C: /f and press Enter. Replace “C” with the letter of the drive you want to scan. You will likely receive a message that says the scan cannot be performed immediately and asks if you want to schedule it for the next time your computer restarts. Type “Y” and press Enter to confirm.
Restart your computer, and Check Disk will automatically scan your selected drive for errors. This process may take some time, depending on the size of your drive and the extent of any issues found. Once the scan is complete, Windows will restart as normal.
Checking for disk errors regularly can help prevent data loss and keep your system running smoothly. If you encounter any issues during the scan or if the problem persists after running Check Disk, you may need to seek further assistance from Microsoft support or a professional technician.
Update Device Drivers
Step 1: Press the Windows key + X on your keyboard to open the Power User menu and select Device Manager from the list.
Step 2: In Device Manager, locate the device category that you want to update the drivers for (e.g., Display adapters, Network adapters).
Step 3: Right-click on the device you want to update and select Update driver from the context menu.
Step 4: Choose the option to search automatically for updated driver software.
Step 5: Wait for Windows to search for the latest drivers for the selected device and install them.
Step 6: Restart your computer to apply the changes and check if the disk usage has improved.
By updating your device drivers, you can ensure that your hardware is running smoothly and efficiently, which can help reduce disk usage on Windows 10.
Reduce Startup Apps
1. Open the Task Manager by pressing Ctrl + Shift + Esc on your keyboard.
2. Click on the “Startup” tab at the top of the Task Manager window.
3. Here, you will see a list of all the apps that launch when you start your computer. Disable unnecessary apps by right-clicking on them and selecting Disable.
4. Disabling startup apps can help reduce the strain on your disk and improve overall performance.
5. It is recommended to only keep essential apps enabled to ensure smooth operation of your system.
6. Restart your computer to apply the changes and check if the disk usage has decreased.
By reducing startup apps in Windows 10, you can effectively lower disk usage and optimize your system’s performance.
Clean Junk Files
Step 1: Open the Task Manager by pressing Ctrl + Shift + Esc on your keyboard.
Step 2: Click on the “More details” option at the bottom of the Task Manager window.
Step 3: Go to the “Processes” tab and look for any background processes that are using a high percentage of your disk.
Step 4: Select the process that is using a high percentage of your disk and click on “End task” to stop it.
Step 5: Next, go to the “Performance” tab in Task Manager and click on “Open Resource Monitor.”
Step 6: In the Resource Monitor window, go to the “Disk” tab and check for any processes that are using a high amount of disk activity.
Step 7: Identify the processes that are causing high disk activity and close them by right-clicking on the process and selecting “End process.”
Perform a Clean Boot

1. Open the System Configuration tool by pressing the Windows key + R, typing “msconfig” in the dialog box, and hitting Enter.
2. In the System Configuration window, go to the Services tab and check the box next to “Hide all Microsoft services.” Then, click on “Disable all.”
3. Next, navigate to the Startup tab and click on “Open Task Manager.”
4. In Task Manager, select each startup item and click “Disable.” Close Task Manager once you have disabled all startup items.
5. Go back to the System Configuration window and click on “OK.” Restart your computer for the changes to take effect.
By performing a Clean Boot, you can eliminate any software conflicts that may be causing high disk usage on your Windows 10 system. This method allows you to troubleshoot the issue by starting with a minimal set of drivers and startup programs.
F.A.Qs
How do I fix 100 disk usage in Windows 10?
To fix 100 disk usage in Windows 10, you can try checking for viruses, resetting virtual memory, performing a clean boot, or wiping your hard drive. A restart may also help resolve the issue.
Why is my SSD at 100 active time?
Your SSD may be at 100% active time due to Windows automatically encrypting it in the background or a specific program using up the SSD’s resources. Check for encryption settings and monitor Task Manager to identify the program causing the high usage.
How do I free up disk space?
To free up disk space, you can perform Disk Cleanup, uninstall programs you no longer need, remove unnecessary files, and consider storing files in the Cloud.
